Sometimes simple is best. Cross stitch and hand embroidery looks fresh and modern when finished in a wood hoop, and it's easier than you think to do. Follow these steps for a beautiful finish ever time.
There are a number of different ways to finish cross stitch and hand embroidery in a hoop. We like this method because it doesn't use glue, but it is still easy. The advantage to not using glue is you can easily remove the fabric from the hoop if you want to clean it or reframe it down the road.
Materials:
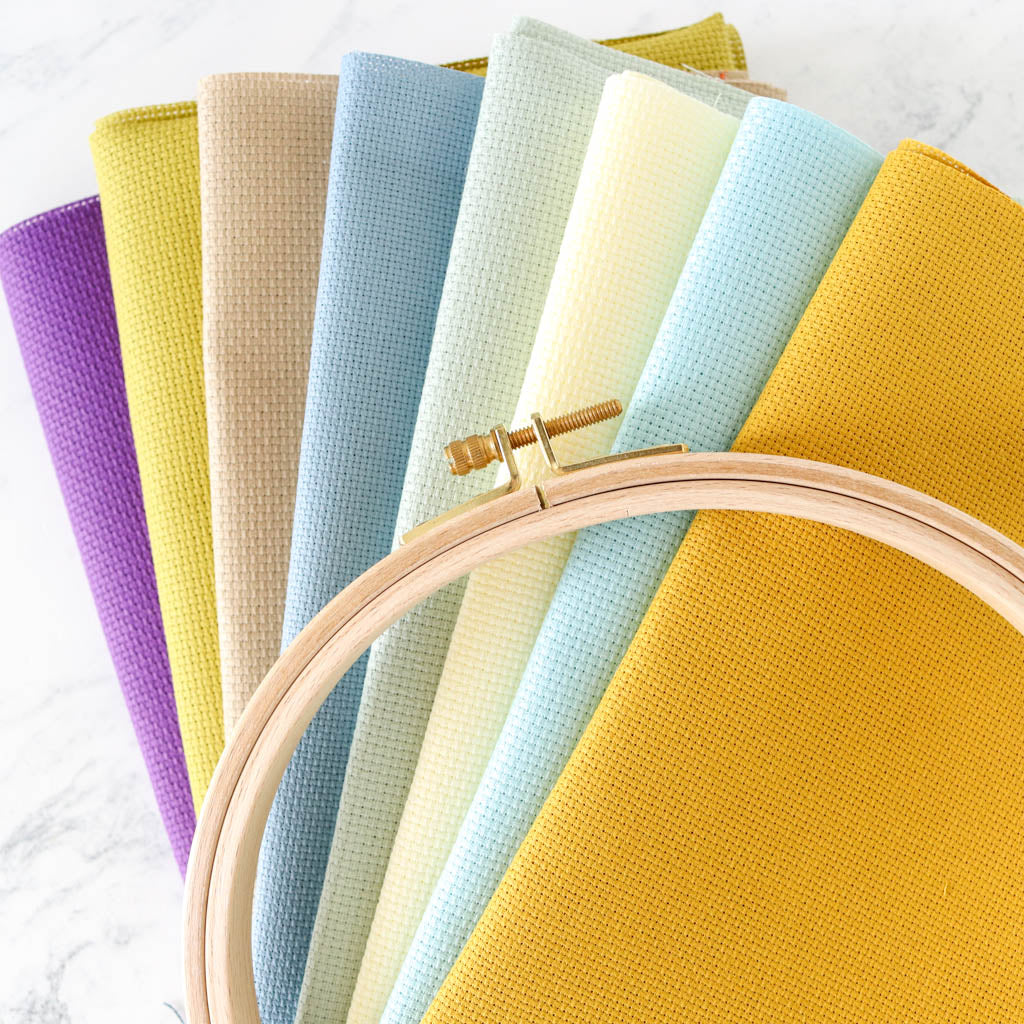
- Wood embroidery hoop
- Felt sheet big enough to cover the hoop
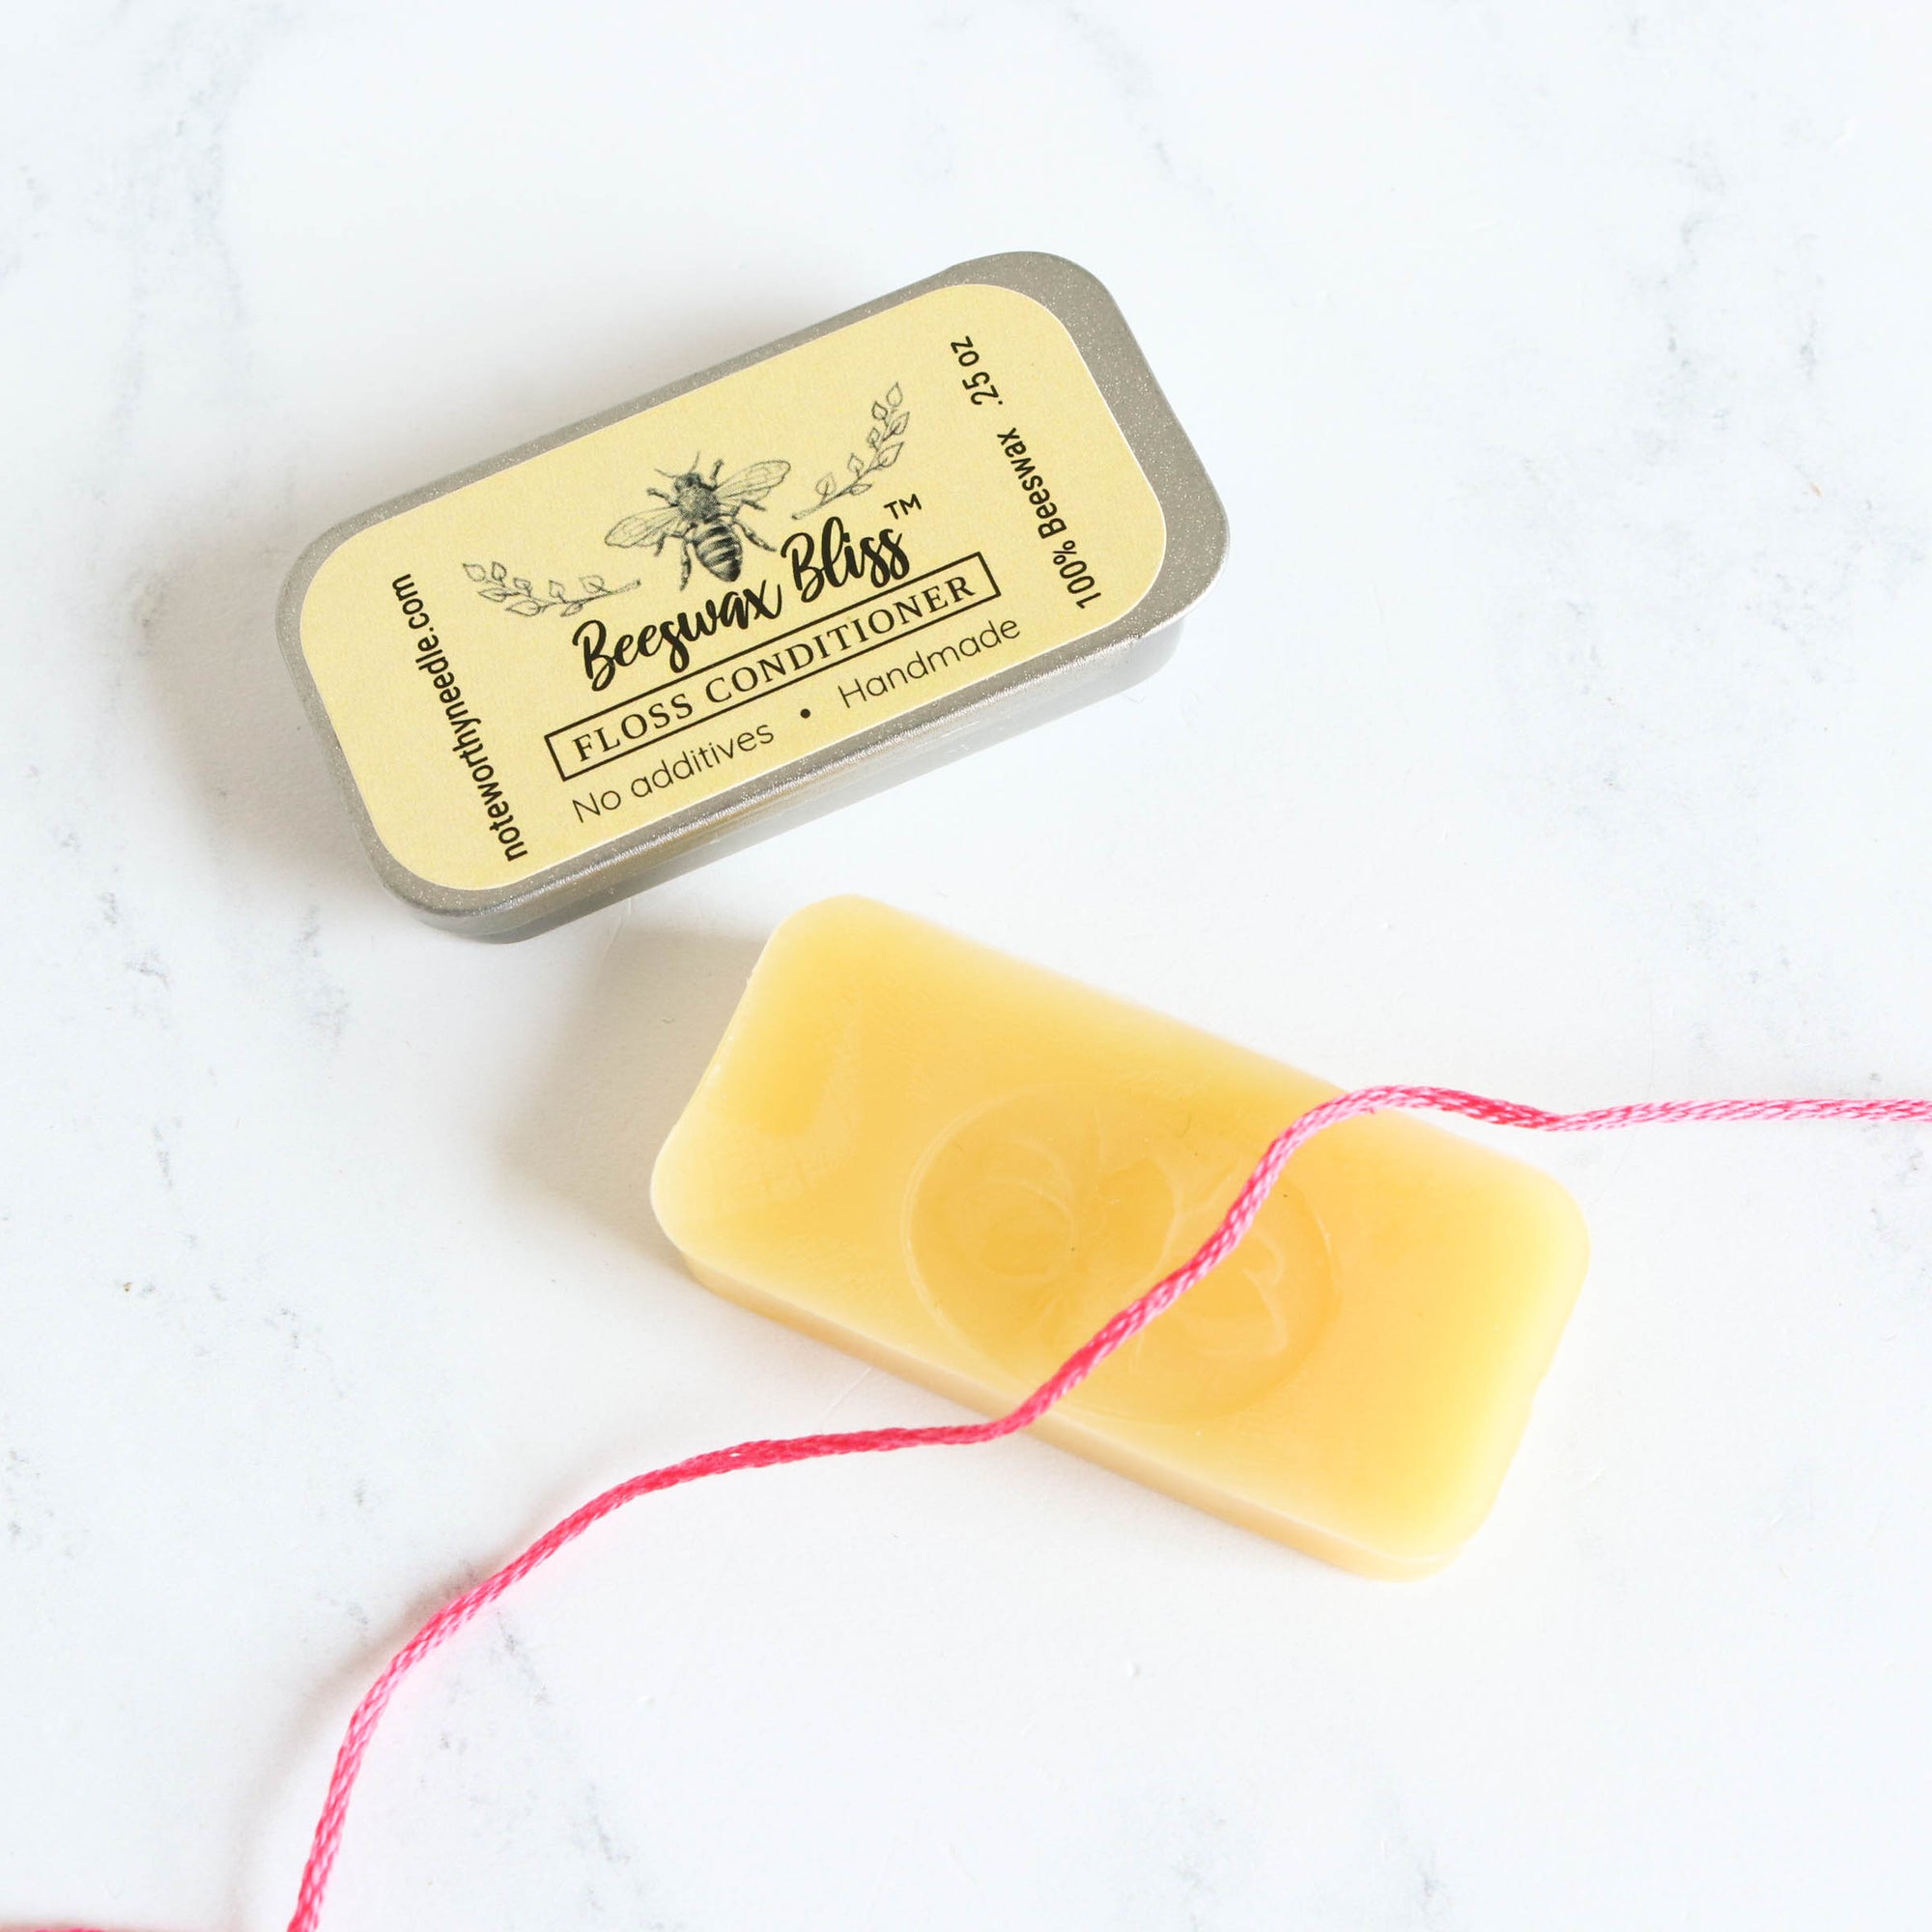
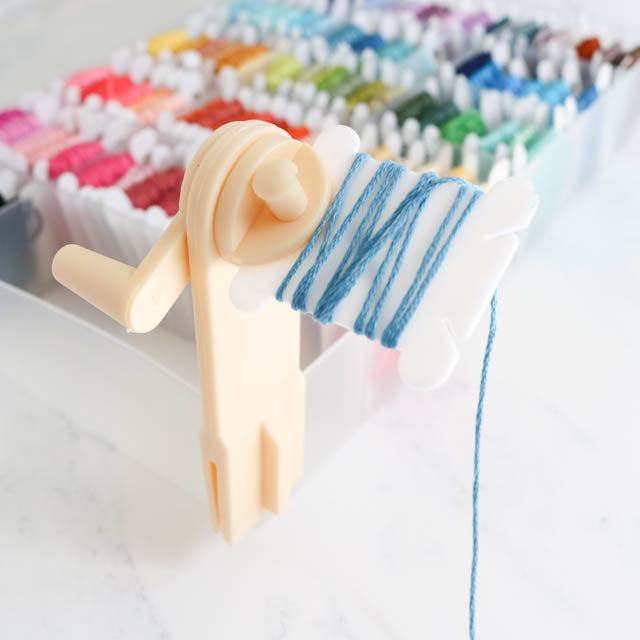
- Embroidery floss and needle
- Scissors
- Pen or chalk pencil
Step 1: Wash and iron
Your cross stitch or hand embroidery piece may look clean on the surface, but oils from your hands have likely collected on the fabric while you stitched, so washing and ironing is an important first step. Follow our washing instructions to prepare your stitching for framing.
Step 2: Cut backing felt
Separate out the hoop you are using to frame your piece. Place the inside ring on a piece of felt and use a pen or chalk pencil to trace around the outside of the ring. Cut out the circle of felt and set it aside.

Step 3: Put cross stitch in the hoop
Place the inner ring of the hoop on a table or other flat surface. Lay your pressed and dried cross stitch face-up on top of the ring. Center the design and then place the outer ring on top, making sure the screw is centered at the top of your design. Take your time and adjust the positioning as needed to get the design placed just right.
Once the design is positioned where you want it, make sure the fabric is pulled taut but not so tight that the design is distorted. Next tighten the screw on the embroidery hoop.
Trim the excess fabric in a circle around the hoop, leaving about a 1-1/2 inch margin.

Step 4: Gather the fabric
Thread your needle with a length of embroidery floss or heavy-duty sewing thread, and leaving a 3-inch tail, sew a running stitch around the circle about 1/4 inch in from the edge of the fabric. Make your running stitches about 1/4-1/2 inch in length.
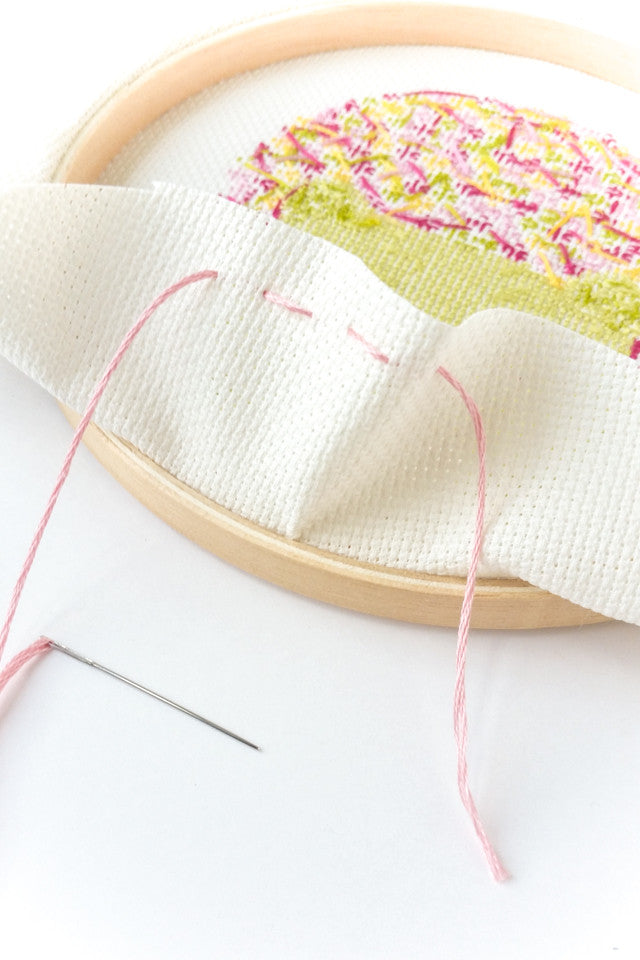
When you get back to the beginning of the circle, remove the needle. Gently pull the ends of the thread. The fabric will start to pucker and gather together. Keep pulling slowly and gently, adjusting the folds toward the center as necessary, until the fabric lies flat. Tie the two ends in a simple knot to secure.

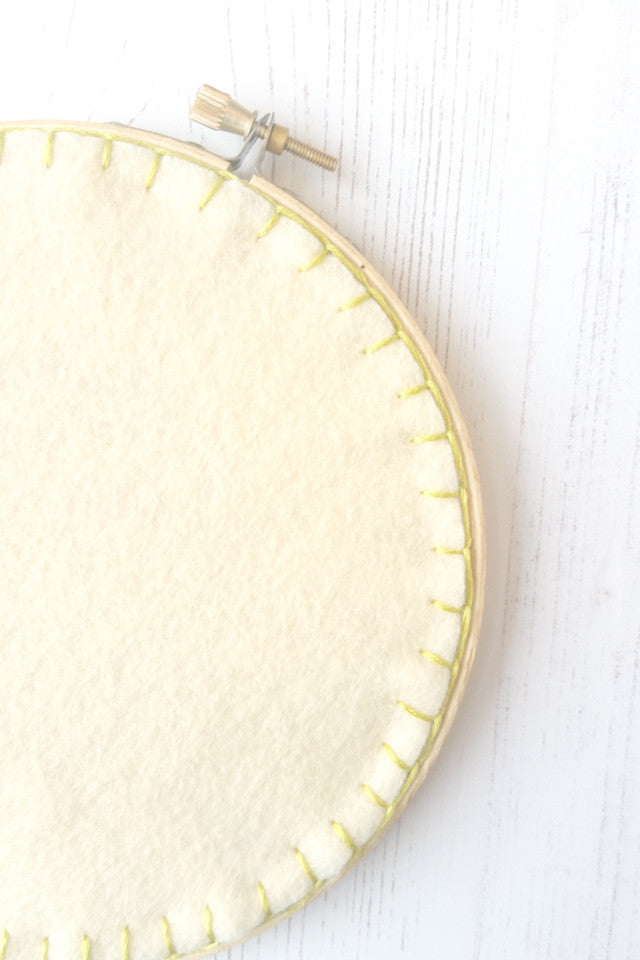
Step 5: Apply the felt backing
Using another length of embroidery floss and your needle, stitch the felt circle to the gathered fabric on the back of the hoop. You can use either a blanket stitch (shown) or a small whip stitch. With each stitch through the felt, catch a few threads of the underlying fabric.
You can use thread that is the same color as the felt to make the stitches disappear, or go with a contrasting thread as an additional design element.