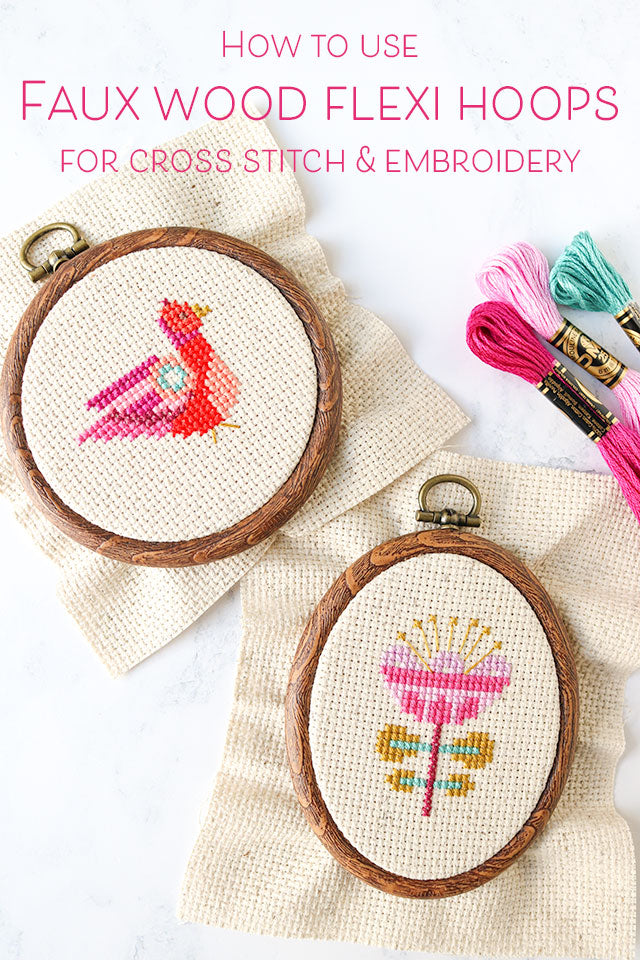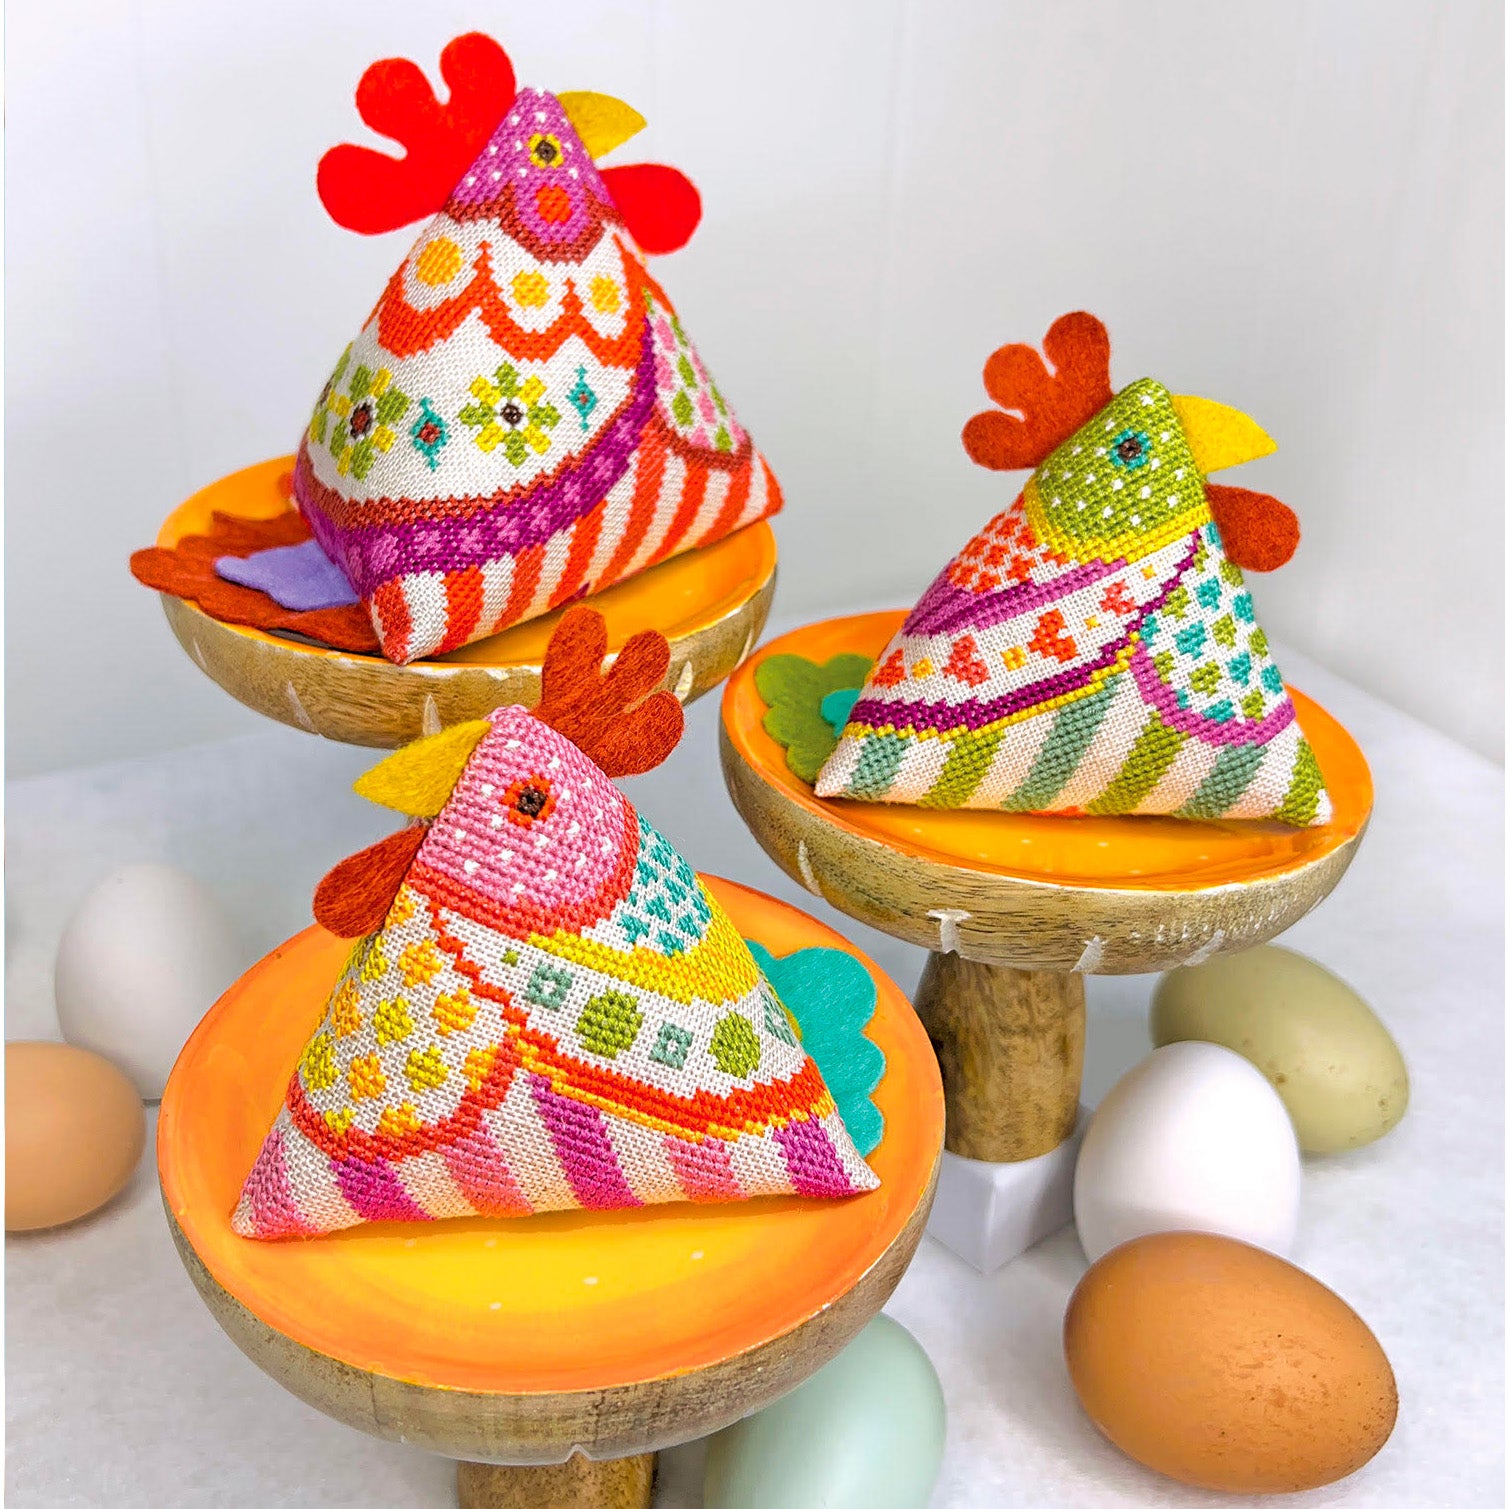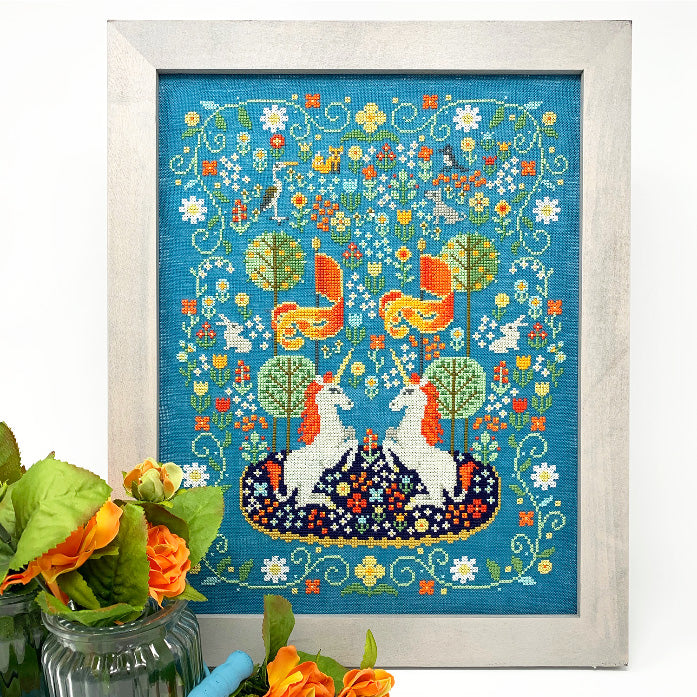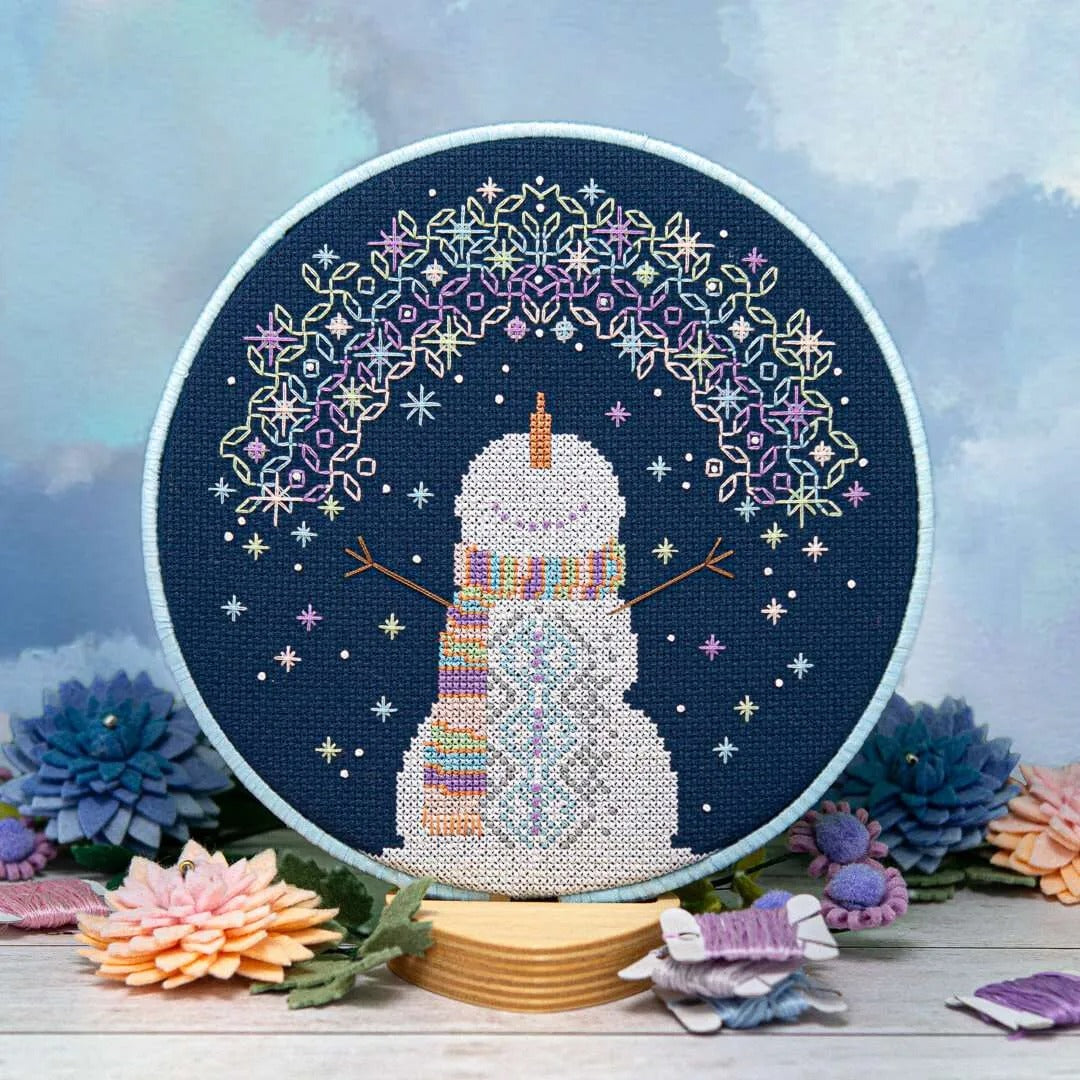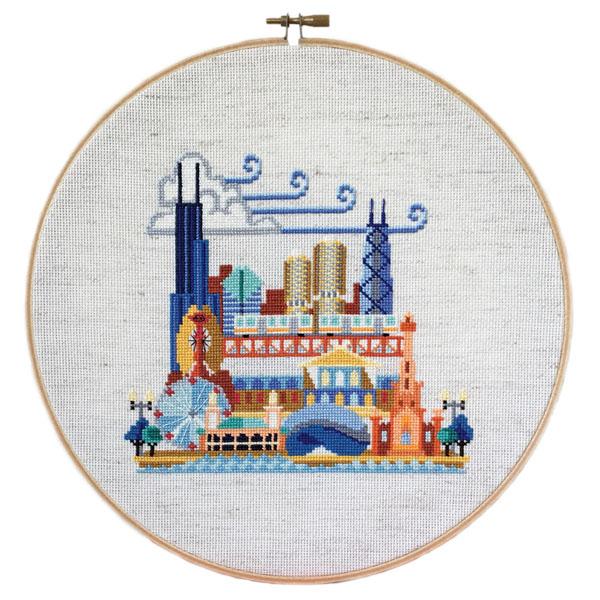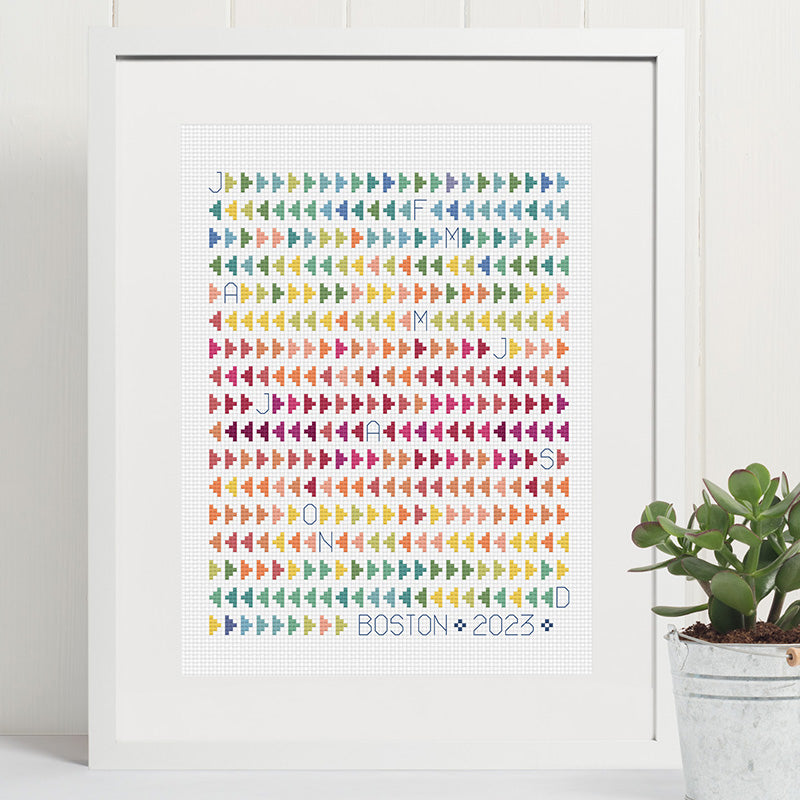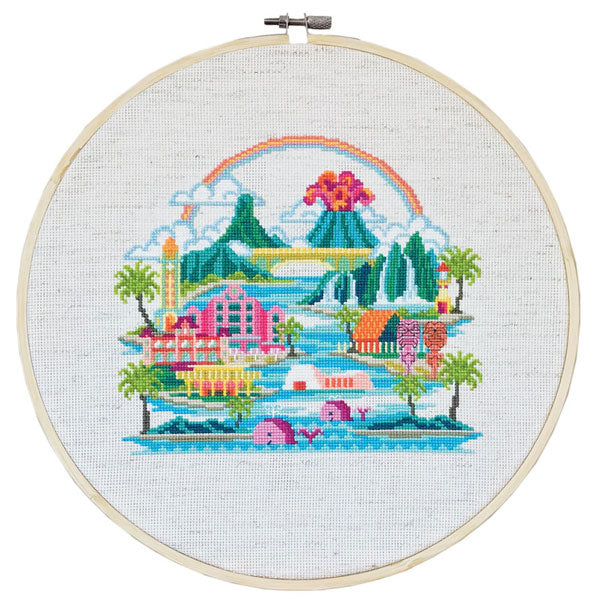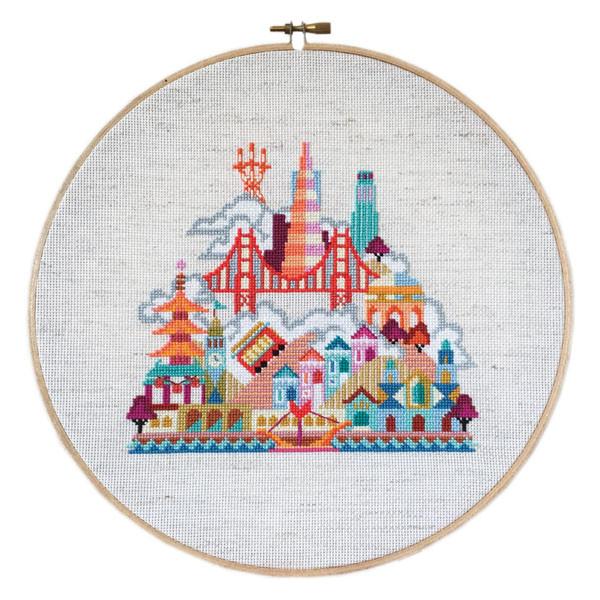


Framing cross stitch and hand embroidery in an embroidery hoop is a classic and easy way to finish a piece of stitching. Plain hoops are fine, but you can make your finished piece extra special by using a dark-grained faux wood flexible hoop.
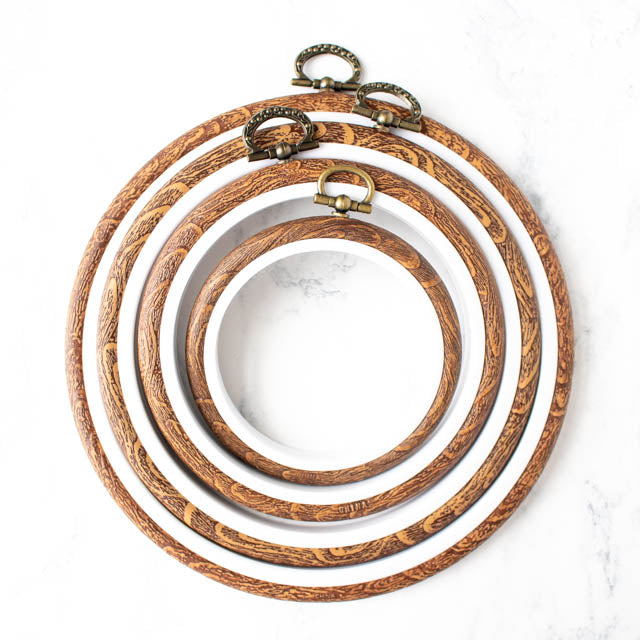
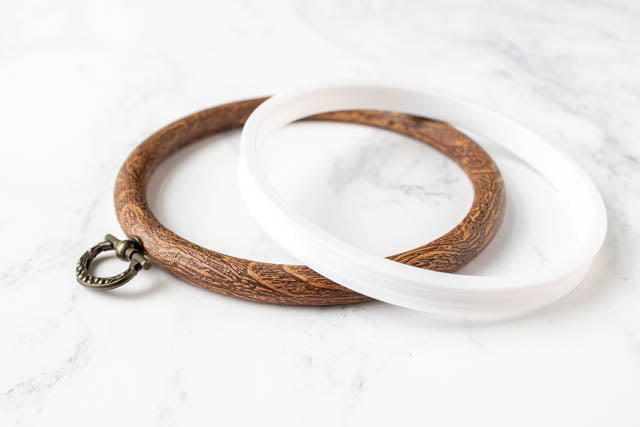
These hoops have the look of real wood, but they are made from a flexible vinyl that fits tightly over an inner plastic ring. They hold the fabric extra tight, which makes them great for framing. They can also be used while you stitch, but take care not to place the frame over an area you have already stitched because the frame might crush the stitches.
With a dark walnut color and faux wood grain that looks like the real thing, these hoops have a retro vibe that works well with all kinds of patterns and fabric colors. The hoops come in a variety of sizes, in both round and oval shapes.
Read on to learn how easy it is to use these faux wood hoops.
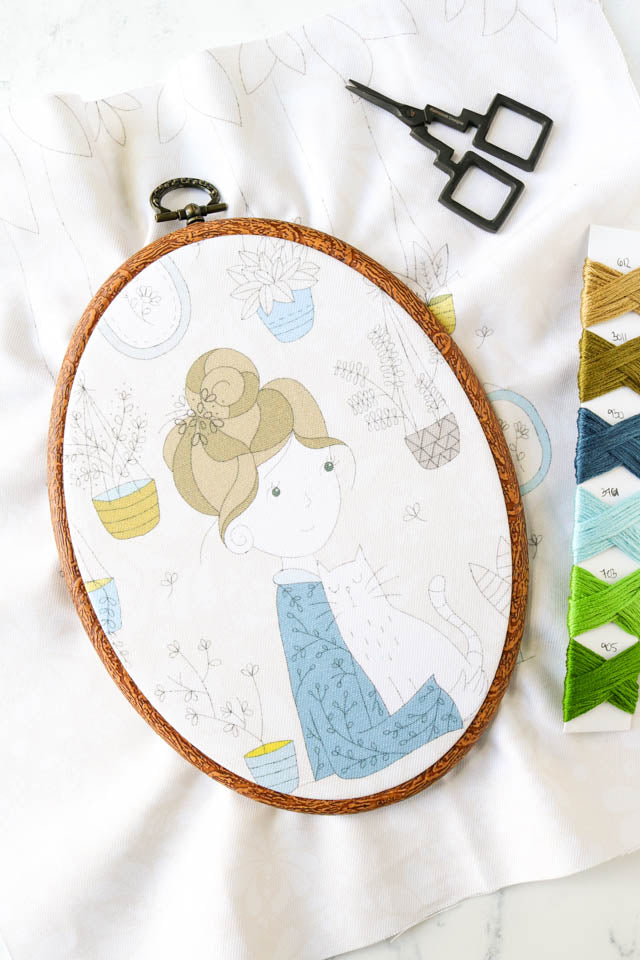
(Above: Hair Bun Girl hand embroidery kit by Tamar)
Step 1: Separate the inner and outer hoops
Unlike the wood and plastic embroidery hoops you may be used to, this faux wood hoop does not have a screw for tightening. Instead, the flexible outer ring fits snuggly into the channel of the plastic inner ring.
To remove the outer ring, gently stretch and roll it away from the inner ring. The outer ring will be tight, so it helps to work around the hoop stretching and rolling as you go.
Step 2: Center your fabric in the hoop
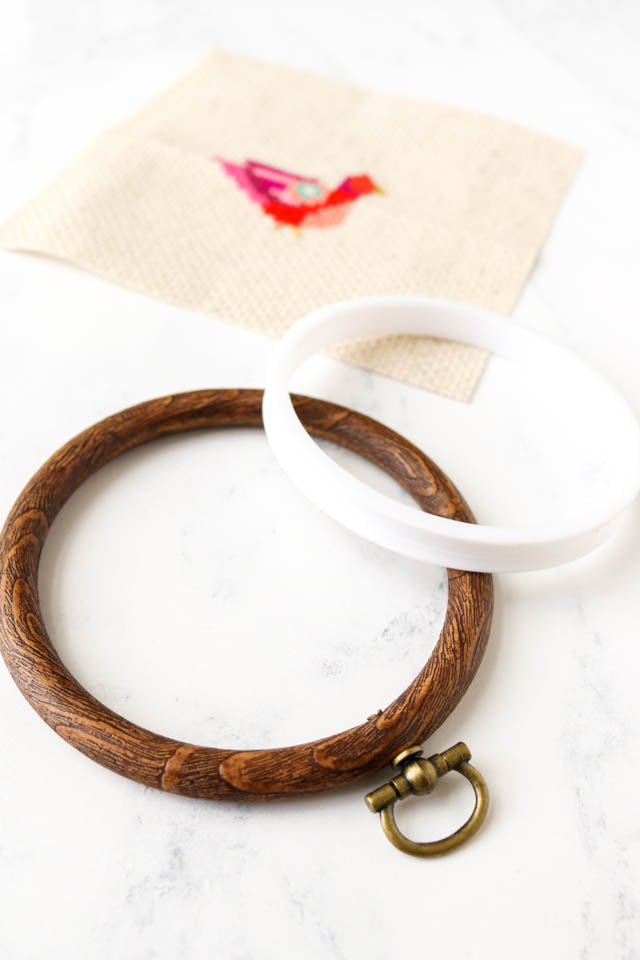
Place the plastic inner ring flat on your work surface and drape your fabric over it with the right side up. Position your fabric so the design will be centered in the hoop. If you are using the hoop to frame a finished piece, take care in centering your work. It can be hard to adjust the fabric once the outer hoop is back on.
If you are having trouble telling if you design is centered, place the outer ring gently on top of the fabric so you can see where the design lies and then make any necessary adjustments. You can also try picking up both the fabric and inner ring and holding them up to the light.
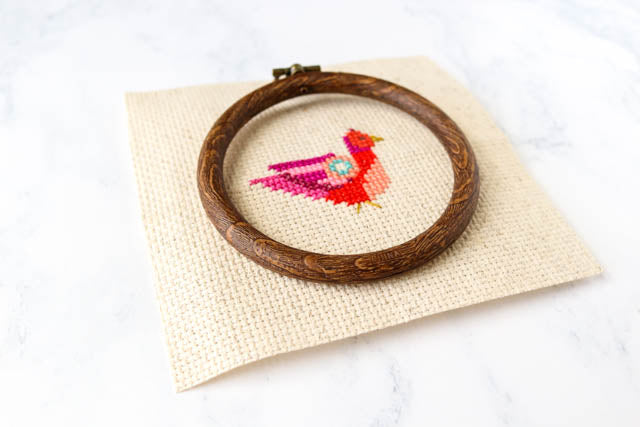
Step 3: Slide the outer ring on
Starting at the top or bottom of the hoop (or one of the sides if you prefer), begin pressing and rolling the outer ring down over the fabric and the inner ring. It will be tight, so work a little at a time. When just starting it can help to keep the hoop flat on your work surface, but as you progress it may become easier to pick up the hoop and use both hands to roll the outer ring.
When positioning the outer ring, make sure the brass hanging loop sits at the top of the design. It is important to make sure you don't distort the fabric, so work slowly.
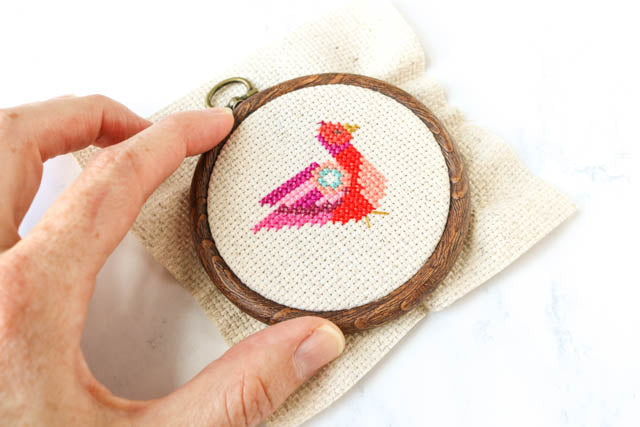
The outer ring fits very tightly around the inner ring. This is by design because it helps to keep the fabric taut, but it can be a challenge when you are working with thicker fabric like Aida. The outer ring becomes a bit easier to manipulate as you work with it, so if your first attempt doesn't work, keep trying.
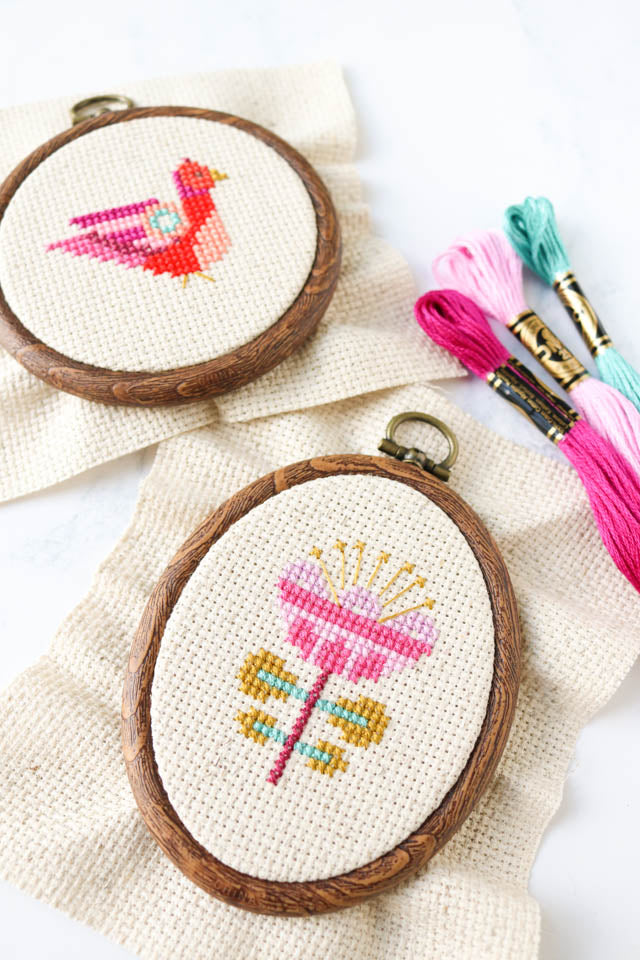
Step 4: Finish the back
If you are framing a finished piece, you can finish the back of the flexi hoop just like you wouldd any other hoop. For step-by-step instructions on the method we like best, see our post on how to frame cross stitch and embroidery in a hoop.
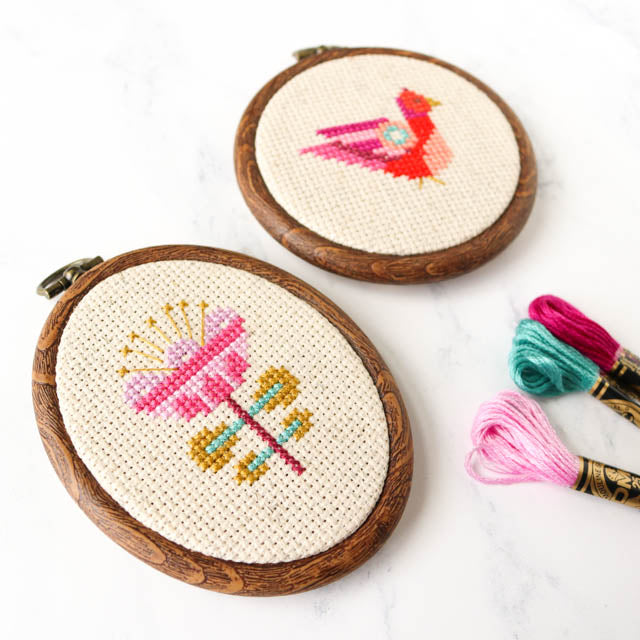
You can find round and oval flexi hoops in various sizes, along with other embroidery hoop options, in the Stitched Modern shop. Interested in the cross stitch patterns shown in the post? They are individual motifs from the Garden Party pattern by Satsuma Street.
For more tips, tricks, and projects, be sure to subscribe to Stitched Modern!