Potholder weaving is back and it's even better than before! This nostalgic craft is so much fun for both kids and adults, and thanks to new high-quality materials, you (or your kids!) can make potholders you will be proud to use in your kitchen or give as gifts.
In this tutorial we will show you how to use a standard potholder loom. We will be using our favorite Traditional 7" Potholder Loom by Harrisville Designs - along with the gorgeous 100% cotton loops they make - but the basic principals apply to any potholder loom.
These potholders are so fun to make, you're going to want to make bunches of them!

What comes with your loom kit
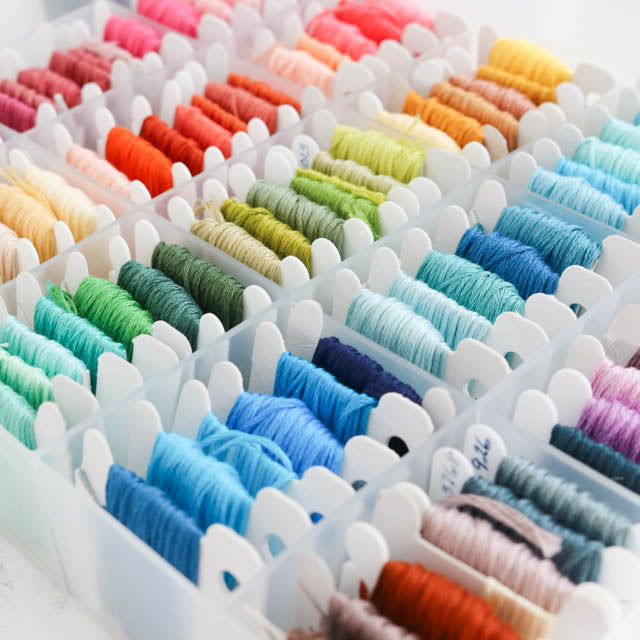
The Harrisville Designs loom kit comes with a sturdy metal loom and a bag of multicolored cotton loops. They make loops in more than 30 beautiful and modern colors, so you can pick up additional packs to mix and match.
The kit also comes with a metal weaving hook and a plastic crochet hook for finishing the edges.

Setting up the loom
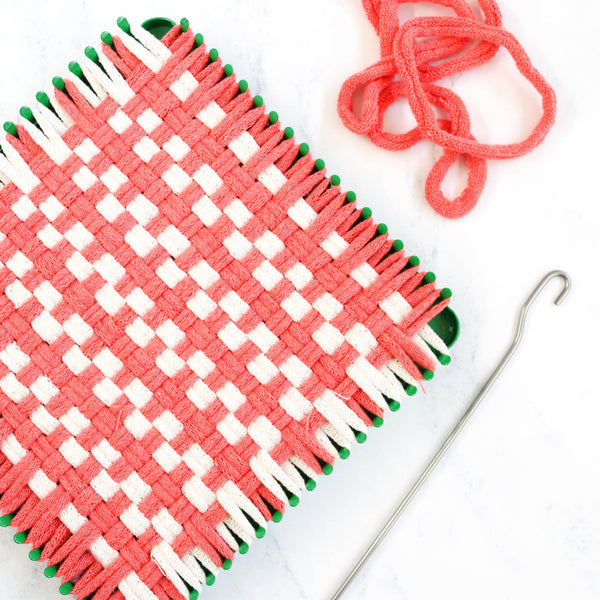
Following your color pattern, slip a loop over a peg on the bottom of the loom, and stretch it over the corresponding peg on the top of the loom. Use one loop per set of pegs, making sure the loops all lie parallel, and that all pegs are covered.

How to weave the potholder
Hold the weaving hook by its larger end, and working from right to left (or left to right if you're left-handed), pass the smaller end of the hook over and under each loop (both strands). Make sure you go over and under both strands - you don't want to go through the middle of the loop.
Tip: It's easier to work in the middle of the loom instead of at the bottom because the loops are looser in the middle.

Slip a new loop over the end of the weaving hook. Twist the hook so it lies flat, and pull gently back toward the right side of the loom. When you get part way across, slip the free end of the loop over the first peg on the left side of the loom to secure it. Continue pulling and slip the other end of the loop over the corresponding peg on the right.

Remove the weaving hook. The loop you pulled across will be arched across the loom. Use your fingers to push it down into place so that it is straight across.
For the next row, start weaving your hook over and under in the opposite way to the previous row. So for example if you started by going over the first loop, this time go under.
Continue to work your way over/under (or under/over) across the row. Hook a loop and pull it back across the loom, using the pegs to secure the loop. Use your fingers to push the loop down on top of the first one.

Continue in this manner until all the pegs from bottom to top are full. As you weave, make sure not to twist the loops. You want the two strands to lie nice and parallel.

Removing the potholder from the loom
To remove your weaving from the loom, you will use the crochet hook that came with the loom kit to chain the loops and create a nice finished edge.
Starting in one corner of the loom, pass the crochet hook through the first loop and pull it off the loom. Pass the hook through the adjacent loop and pull it off the loom so there are two loops on the hook.

Using a twisting motion, pull the second loop through the first loop. (It can help to use your fingers to stretch out the first loop as you pass the second through.) There will be one loop left on the hook.

Slip the hook through the next loop on the loom, and continue chaining stitches. When you get to the corner, just continue chaining. You will eventually work your way around the potholder chaining all the loops.
Once you complete a side, it can help to loop on of the chained stitches back on the loom. The tension will prevent other loops from popping off the pegs prematurely.

After you pull the last loop through, you will be left with a single loop on the hook. Keep this loop on the hook as you remove the potholder from the loom. With the single loop still on the hook, tug on the sides of the potholder to even out the edges and make the potholder lie flat. Keeping the loop on the hook while you do this will prevent the edges from unraveling.
Remove the crochet hook, and give the loop a little pull to tighten it. Trim any loose threads.
To finish the potholder, you can pass the corner loop through a small wooden hanging ring to add a decorative (and functional) touch.

Make potholders for your own kitchen or to give as gifts
When you use 100% cotton loops as shown in this tutorial, you will end up with sturdy and functional potholders that will last. Have fun mixing and matching colors and patterns to come up with a cozy collection.
Potholders also make great gifts. Kids can make them for parents, grandparents, and teachers. Pair them with a pretty mug (they work as coasters too!), or with a mason jar full of your favorite cookie mix. It's a quick and easy way to add a lovely handmade touch.

Ready to get started weaving your own potholders? Find all the supplies you need in the Stitched Modern shop!