When you stitch, the natural oils on your hands transfer to the fabric. That's why it is important to wash your cross stitch and hand embroidery projects before framing, even if the piece looks clean. Oils that you can't immediately see can become stains over time.
Washing is also an easy way to get out stubborn creases and hoop marks made during stitching.
Fortunately, washing cross stitch and hand embroidery is easy and doesn't require any special equipment. Here is how to do it.
Materials:
- Mild soap like Soak Scentless or dish soap
- Large bowl or container
- 2 or 3 soft cotton bath towels
- Iron and ironing board
- Press cloth (optional)
Step 1: Soak in soapy water
Fill a large clean bowl or container with lukewarm (not hot) water and add a drop or two of soap. You don't need much. Stir the soap around with your hand to make sure it is evenly dispersed. A mild scentless soap like Soak wash is a good choice because it's gentle and eco-friendly to boot, but regular dish soap works too.

Pre-rinse your stitched piece under cool running water.
Submerge the piece in the soapy water and let it soak for 15 minutes or up to 1 hour. Gently swish it around every so often. If you notice a stain, you can try rubbing gently with a soft toothbrush. Do not scrub.

Step 2: Rinse and partially dry
Dump out the water and rinse in 3 or 4 changes of cool water until the rinse is soap-free.
Lay out a soft bath or hand towel (depending on how large your piece is), and lay the fabric face-down on the towel. Smooth out any wrinkles and then place another towel on top. Roll the towels up like a jelly roll with the stitched piece in the middle. Press lightly on the rolled towels to remove some of the water. Don't wring the towels.
Step 3: Iron flat
Place a dry towel on your ironing board or other heat-proof surface. Unroll the stitched piece and place it face-down on the towel, gently easing it into shape if needed. The towel underneath the cross stitch will help keep the stitches from getting crushed when you iron.
With a warm iron, press the work from the back. Make sure to keep the iron moving at all times so you don't scorch the fabric. Don't iron from the front of the piece or the stitches will get flattened.

If you have particularly resistant creases, you can use your iron on the steam setting, but cover the stitching with a press cloth first.
When the piece is ironed smooth and mostly dry, lay it flat to air dry completely.
Important notes
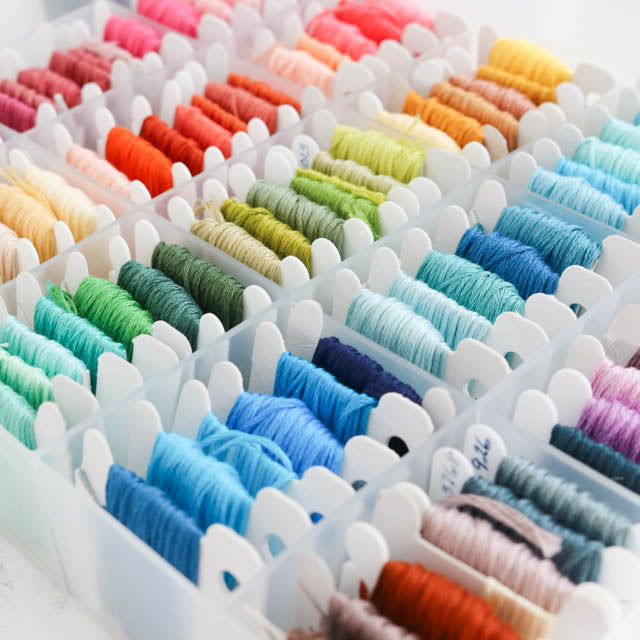
This hand wash method can be used for stitching made using standard cotton embroidery floss. Do not hand wash if you have stitched with silk or wool threads.
Be aware that some types of embroidery floss and colored fabric may not be colorfast. We have never had a problem with DMC floss, but particularly if you are using hand-dyed floss or fabric, you should check to make sure the materials are colorfast before washing.