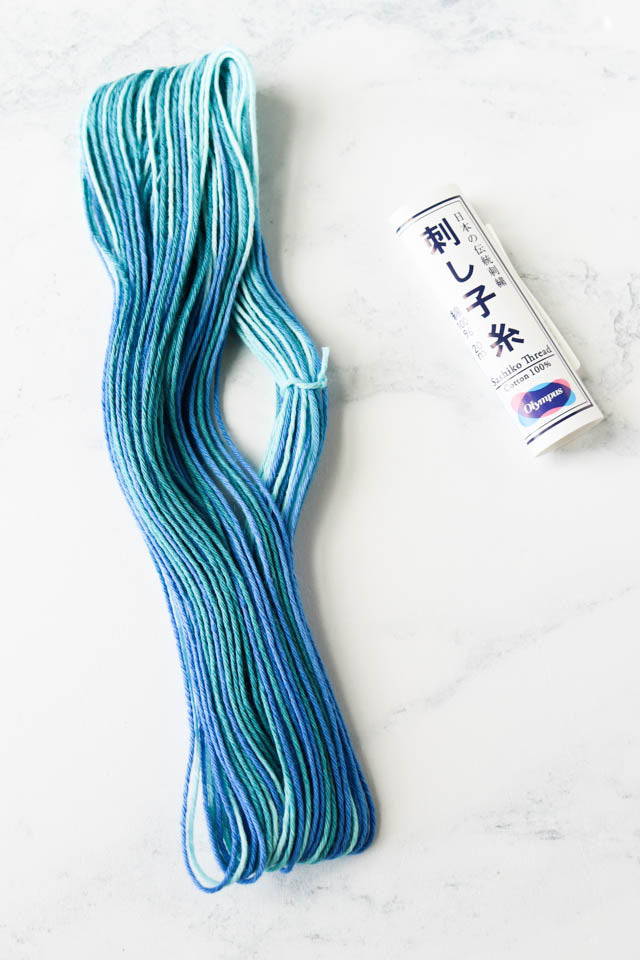
Sashiko thread is commonly sold in a skein similar to embroidery floss. But whereas embroidery floss can be pulled from the skein without removing the paper bands that hold it together, sashiko thread cannot.
When you remove the band from a skein of sashiko thread, you run the risk of it turning into a tangled mess. Working your thread into a simple braid is a great way to keep it from getting tangled and knotted - perfect for throwing into your project bag or storing for later use.
The braiding method also has the advantage that all your thread will be pre-cut to the perfect length for stitching, so all you have to do is easily pull out a length of thread and you're good to go!
Here's how to do it.
1. Slide off the band
Sashiko thread is wound in a big circle that is then folded to make the skein. To start, slide the paper band off your skein of sashiko thread and gently separate the sides of the circle. Look for the place where the ends overlap. It will have a small tie of thread wrapped around it.
2. Unfold the loop
Hold the thread at the tie, and gently shake to unfold. The skein will form a large circle.

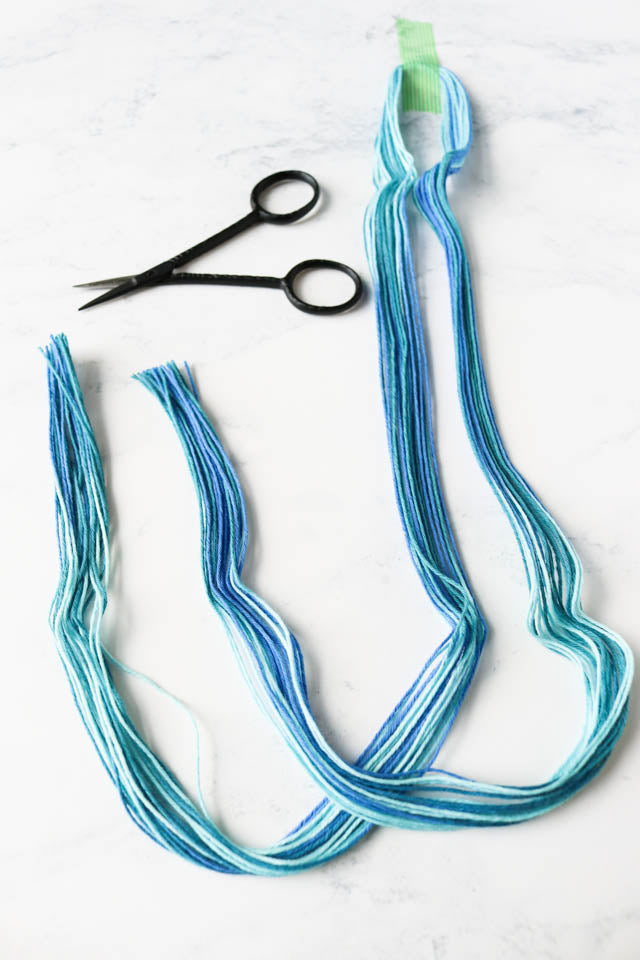
3. Secure and cut the thread
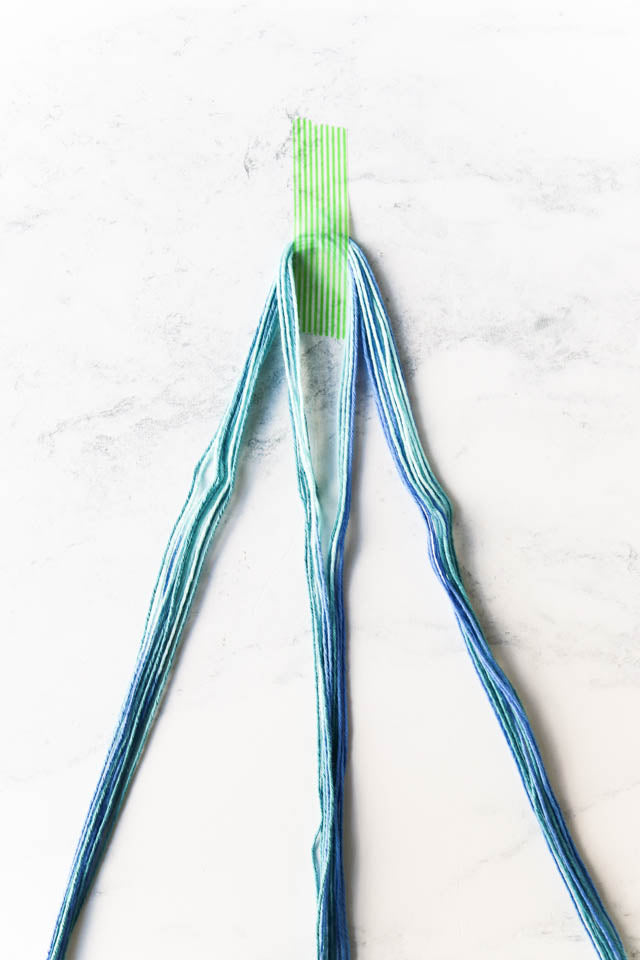
Lay the circle of thread out on your work surface with the tied end closest to you. Tape down the far side of the loop using washi tape or another low-tack tape. Using a sharp pair of scissors, cut through the end of the loop closest to you.
4. Start braiding
Separate the thread into three even sections.
Braid using a standard 3-strand braid.
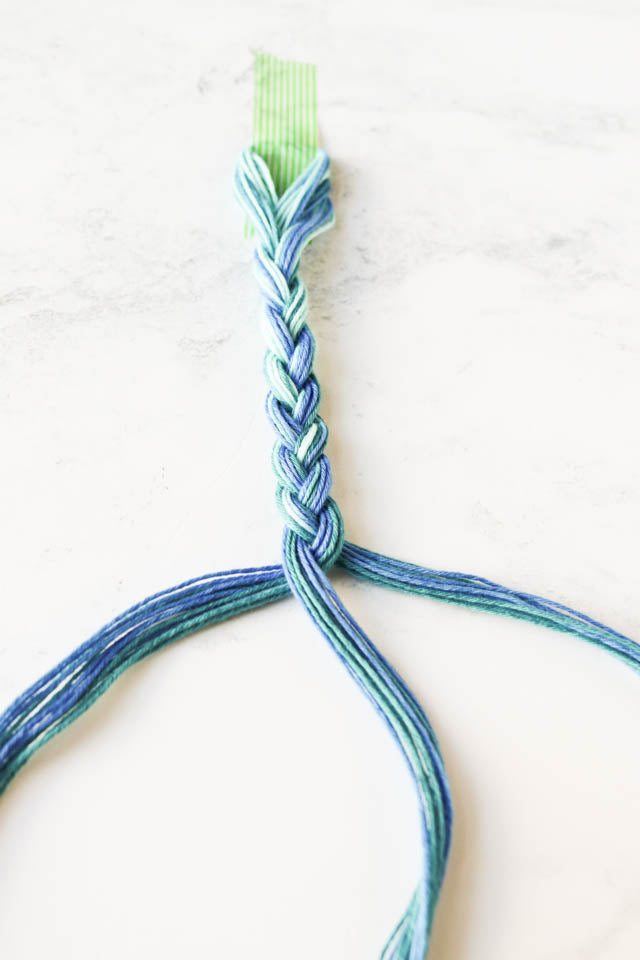
When you are done, tie the braid with a scrap piece of thread to secure it, and remove the tape.
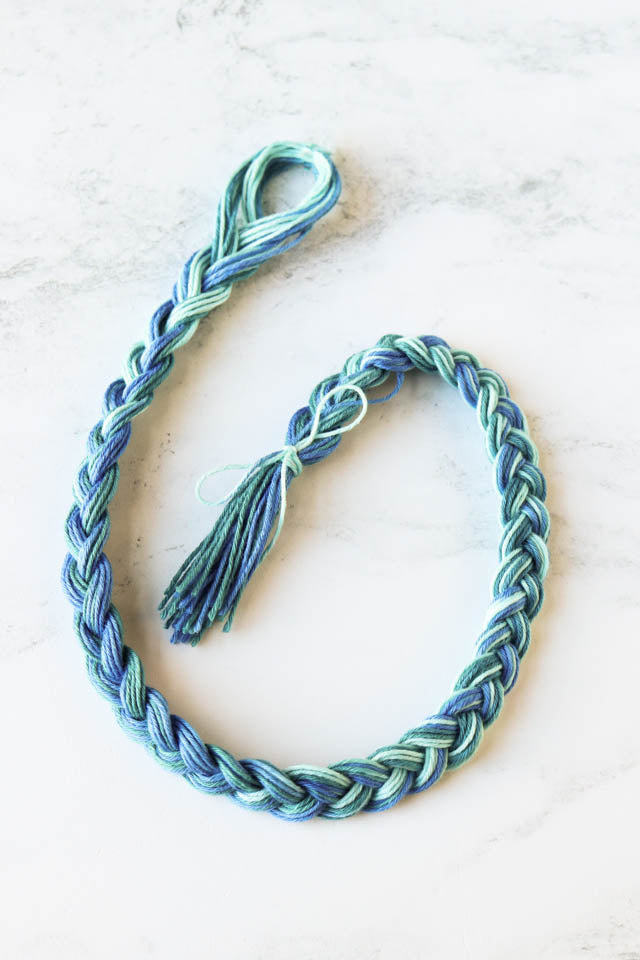
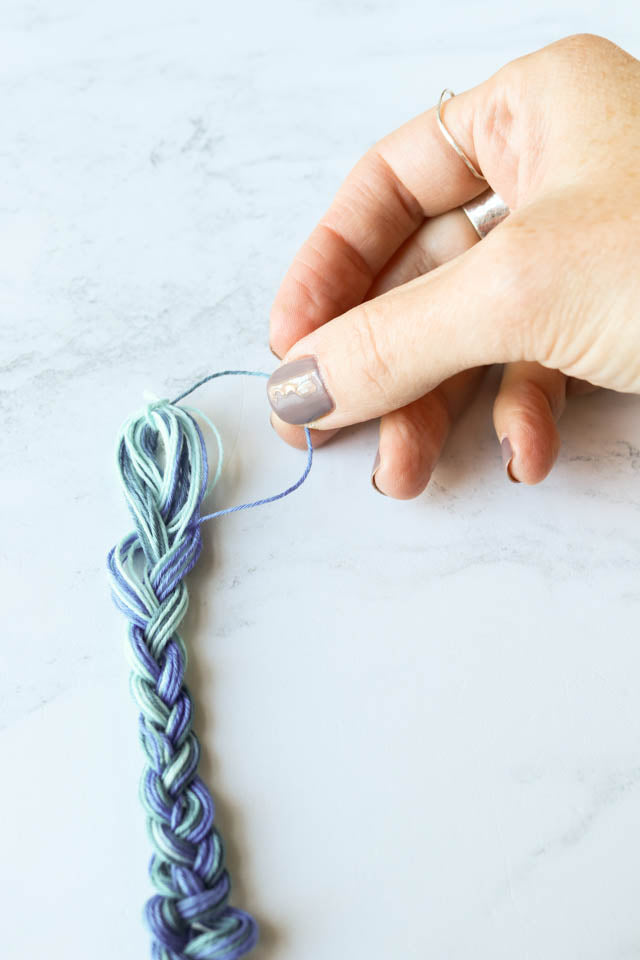
5. How to pull strands
When you are ready to use the thread, separate out a strand from the top of the braid and gently pull to remove it. The braid will bunch up a bit as the strand is pulled out, but you will be able to flatten it out again. The thread will be the perfect length for stitching.
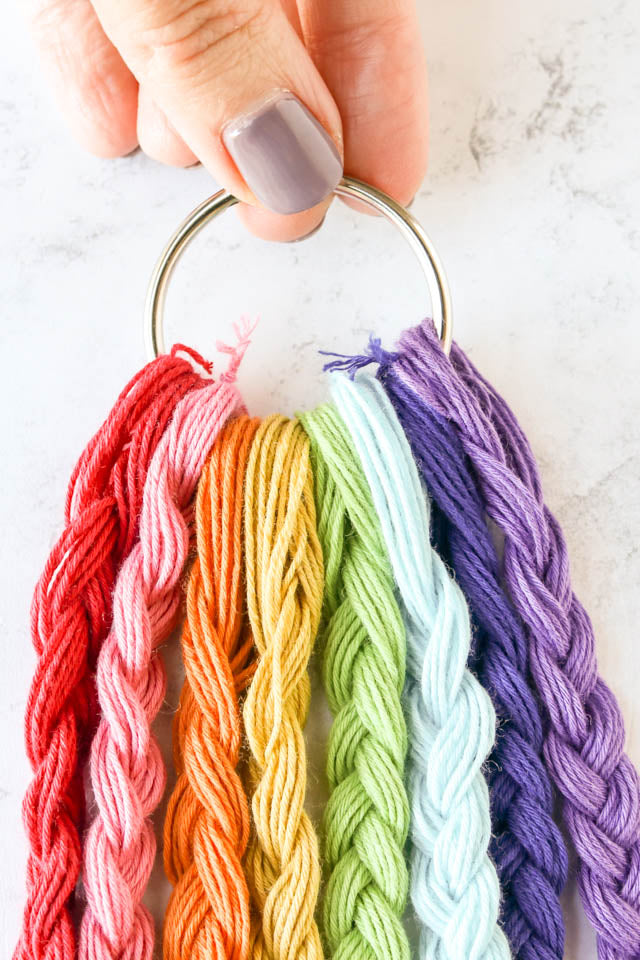
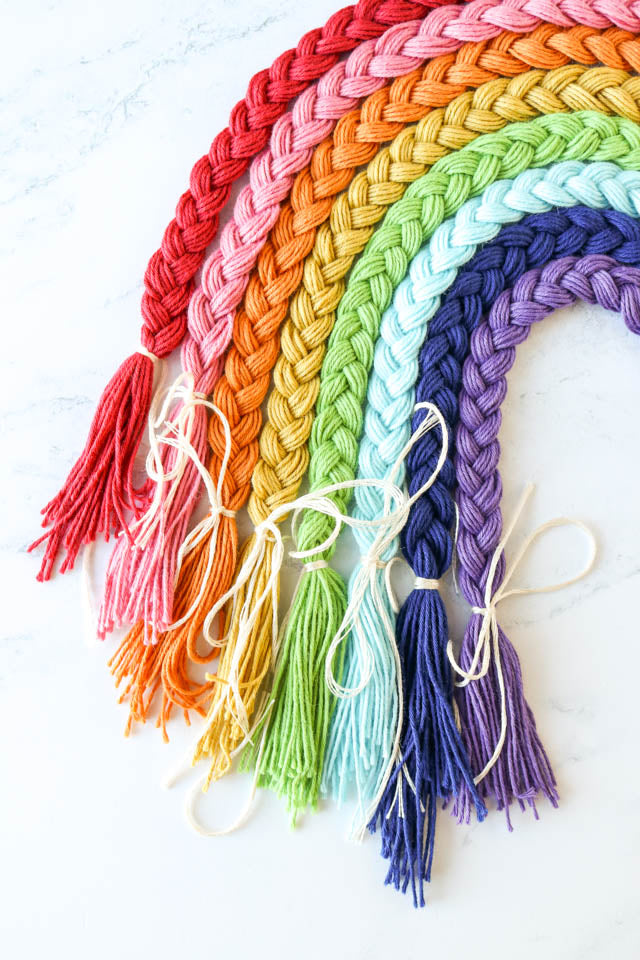
You can store your thread braids on a metal ring for easy access. They will stay neat and tidy, and be ready to use when you need them. Even better? They'll look gorgeous hanging in your stitching space!