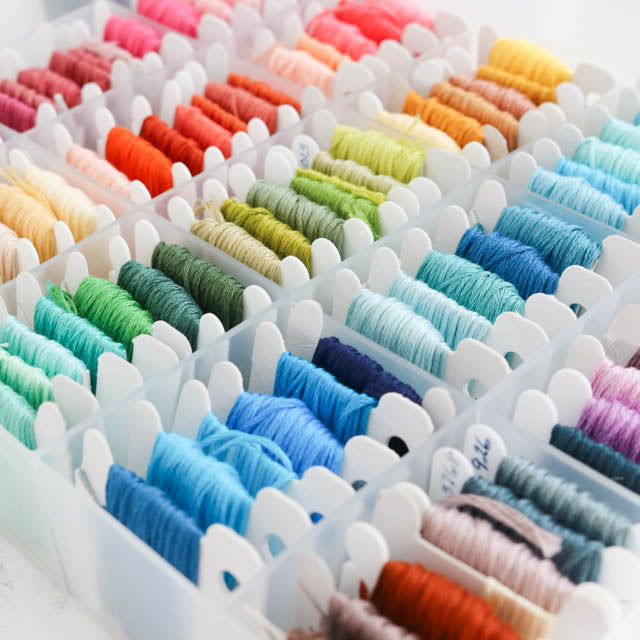
Most embroidery floss skeins, like those produced by DMC, are called pull skeins. They are designed so that when one end is pulled (slowly and carefully), the floss will come come out of the skein without getting tangled.
Sounds great, right? The problem is, if you pull the wrong end, instead of being knot free, your skein will end up a big 'ole tangled mess.
Here's how to pull floss from a skein the right way.
Notice that on a skein of DMC floss there are two labels: a smaller one at the top that has the DMC logo, and a larger one at the bottom printed with the color number and barcode. One end of the thread can be found at the top of the skein, and the other at the bottom.

Here's the key. When pulling floss from a skein, always pull the end that sticks out from the longer, bottom label. This is the end that is designed to pull out without knotting. Sometimes this end sticks out and is easy to find, other times you need to go digging for it among the loops at the end of the skein. Finding it is always worth the effort.

Pull the length you need, and then cut. Leave a little tail so you can find the end again when you need more thread. You can also pull the whole skein out to wind on a thread bobbin if you want.

It helps to pull the thread slowly and watch for any tangles. Occasionally loops in the skein can get twisted, and will knot if you pull too quickly. If you pull slowly, you can see any twists or tangled up loops and pick them apart before the whole skein becomes a knotted mess.

Different embroidery floss manufacturers make and label skeins in different ways, so if using something other than DMC, you may need to experiment to figure out which end pulls without tangling. The good news is once you discover which end to use, it should be the same for every skein in that line.
Want more cross stitch tips and tricks? Check out all our projects and tutorials here.

