These spooky spiders resting on their cobwebs make a perfect Halloween stitch. The spider webs come already printed on the fabric, so all that's left to stitch is the spiders themselves using our free patterns. Quick and easy!
The spider web fabric makes a fabulous backdrop, but you could always use plain Aida or linen instead. The spiders are framed in embroidery hoops that have been painted black for extra pop.

Materials
- 14-count Spider web Aida fabric
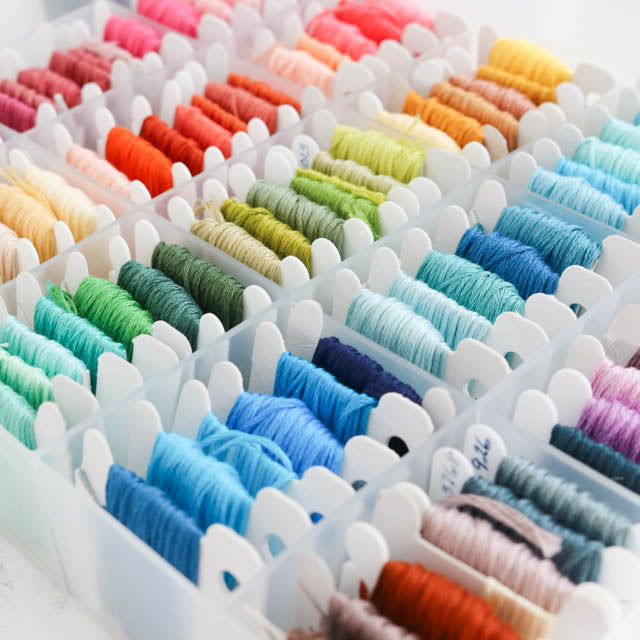
- Black embroidery thread (DMC 310 or alternative)
- Size 24 tapestry needle
- Scissors
- Two 3-inch and one 6-inch wood embroidery hoop
- Fine-grit sandpaper (optional)
- Black acrylic paint
- Paintbrush
- Tacky craft glue
- Felt sheet
Step 1: Stitch spiders
Use the chart below to stitch the spiders using two strands of embroidery floss and a tapestry needle. The cobwebs on the printed Aida fabric are about 5 inches across. Figure out where you want the spider to be positioned relative to the web before you start stitching. Make sure you leave at least 1 to 1-1/2 inches of extra fabric along the edges for framing.
For more information on how to cross stitch, see A Beginner's Guide to Cross Stitch.

When you are done stitching, wash and iron the fabric to prepare it for finishing.
Step 2: Paint the embroidery hoops
Separate the rings of the embroidery hoop. You only need to paint the outer ring. You can sand the hoop with fine-grit sandpaper if needed. Paint the outside of the hoop and one of the edges with acrylic paint and let dry completely. Overnight is best. It may take several coats to get full coverage. I did three coats.

Step 3: Cut the backing felt
Place the inside ring of the hoop on a piece of felt and trace around its outside edge with a pen or chalk marker. Carefully cut around the circle about 1/8-1/4 inch outside the marked line. You want your final felt piece to be slightly larger than the inner hoop.

Step 4: Put the fabric in the hoop
Place the inner ring of the hoop on a table or other flat surface. Lay your pressed and dried cross stitch face-up on top of the ring. Center the design and then place the outer ring on top, making sure the screw is centered at the top of your design. Take your time and adjust the positioning as needed to get the design placed just right.
Once the design is positioned where you want it, make sure the fabric is pulled taut but not so tight that the design is distorted. Next tighten the screw on the embroidery hoop.
Trim the excess fabric in a circle around the hoop, leaving about a 1-inch margin.

Step 5: Glue the fabric and backing
There is a time to be careful and persnickety about finishing the back of an embroidery hoop, but I decided this wasn't one of them. So for a no-fuss hoop finish, I turned to glue. (Feel free to be careful and persnickety instead if you prefer.)
Run a bead of tacky glue around the inner edge of the embroidery hoop and fold down the fabric to secure it. It can be helpful to work in small section around the hoop. Use enough glue to secure the fabric, but not so much that it drips down onto the stitched surface.

Once the Aida is glued down, run another bead of glue around the inner edge of the hoop on top of the fabric, and lay in your felt circle, pressing around the edge to adhere it. Trim excess felt if necessary.

That's it! You can add a ribbon to hang the hoops, or prop them up with some pumpkins on your mantle.

A perfectly spooky addition to your Halloween decor.