There are a number of ways to prepare your finished cross stitch or embroidery for framing. One of the easiest is to use self-stick mounting board, also called press-on board or simply, sticky board.
Sticky board is thick cardboard with a high-tack adhesive on one side. It's acid-free so sticky board is safe for all kinds of needlework, and the adhesive is repositionable so it is particularly forgiving and easy to use.

Sticky board is a good mounting option for small to medium sized pieces. It comes in a variety of standard sizes like 5 x 7 and 8 x 10, but is easy to cut with a box cutter or a sharp pair of scissors to whatever size you need.
Read on to learn how to mount your finished cross stitch or embroidery on sticky board to prepare it for framing.

Materials
- Press-on mounting board (sticky board)
- Ruler
- Pen or pencil
- Scissors
- Box cutter or craft knife
In this tutorial we show you two different ways to mount your piece with sticky board: one with batting and one without. You will need some of the following optional materials depending on the method you choose.
- Cotton batting
- Double-sided tape
- Masking tape
- Tacky craft glue
Cut sticky board to size
If you need to trim your sticky board down to size, use a ruler and pen or pencil to mark the desired size directly on the board. If you are putting your needlework in a frame and the frame came with glass, you can trace around the glass to get the right size.
(Note: Needlework needs to breathe. If your frame came with glass, use it to measure the size of the sticky board, but don't use it in your final framing. Needlework is generally finished in an open frame.)

Using a box cutter, craft knife, or sharp scissors, carefully cut the sticky board just inside the lines you drew. You want the board to be a touch smaller so that it will still fit in the frame once the fabric is wrapped around it.
One side of the sticky board is printed and the other side is blank. The printed side is the sticky side. Pulling off the printed backing paper exposes the adhesive. This will be important as you go forward.
Prepare the fabric
Be sure to wash and iron your cross stitch or embroidery before mounting it on the sticky board to remove any dirt or oil.
Roughly center your design on the sticky board - it doesn't have to be perfect at this point. Fold the edges of the fabric around the board. Gently press to make light creases in the fabric. You will use the creases to help cut the fabric to size.
Remove the fabric from the board, and cut the fabric 1 to 3 inches away from the crease lines. For smaller projects, 1 inch is fine. For larger projects use 3 inches. If in doubt, go with a larger margin. You can always trim excess fabric when you are done.

(Option 1) Mount with batting
A piece of batting between your needlework and the mounting board adds some loft and dimension to your finished piece. You can add as much or as little batting as you like.
Cut a piece of cotton quilt batting the same size as your sticky board. If you want it to be extra padded, cut a second piece that is slightly smaller and stack the smaller one on top of the larger one.
Use double-sided tape or a thin layer of craft glue to attach the batting to the
non-printed side of the sticky board.
Flip the board over so the printed side is facing up. This is the sticky side. Using a ruler and a craft knife, gently score the printed paper backing about 1/2 to 1 inch away from the edge of the board, depending on the size of your piece. Do this on all four sides. Press down with your knife hard enough to cut through the backing paper (you will remove it later), but no so hard that you cut through the board.

With the batting side up, center your design on the board. Take your time with this step to get the design just where you want it.
While holding the fabric in place, put the board face-down on your work surface. Starting on one of the short edges, peel off the strip of backing paper and then fold the fabric down onto the adhesive. Press lightly to adhere.

Repeat the process with side across from where you started. For example, if you folded down the top edge, do the bottom edge next. As you wrap the fabric around the board, pull it gently and evenly to make sure it is smooth and taut. Be careful not to pull so tightly that you distort the fabric or the design.
Flip the board over to make sure the design is still centered. If it is not, the adhesive is repositionable so you can pull up the fabric and try again.
To reduce bulk at the corners, trim away the excess fabric as shown below.

Remove the paper backing and fold down the remaining two edges, making sure the fabric stays centered and flat. You can leave the corners as they are, or if desired fold them neatly and secure with a drop of tacky craft glue.

Allow the glue to dry and then insert into your frame or finished as desired.
(Option 2) Mount without batting
If you don't want to use batting, you can stick your fabric directly to the adhesive side of the sticky board.
With the printed side up (that is, the sticky side), center your design on the board. Take your time with this step to get the design just where you want it.
Fold one of the short edges of the fabric to the back of the board and secure it with a piece of masking tape. This will help keep the fabric in place while you stick it to the board.

Turn the board over so the design is facing up. Flip up the fabric up to reveal the board. Starting from the short edge, begin peeling back the printed paper liner to expose the adhesive. As you peel, lightly press down the fabric to adhere it.

Continue to slowly peel and press down your fabric, smoothing out any wrinkles as you go. When you are done, check to make sure the design is still centered. If it is not, the adhesive is repositionable so you can pull up the fabric and try again.
To finish the edges, you can wrap the excess fabric around to the back and secure it with glue, trimming excess fabric from the corners as described above. Alternatively, you can simply cut off the excess fabric. The sticky board will keep the edges from fraying.

Whichever method you choose, sticky board makes finishing your cross stitch or embroidery simple. This type of finish is called a flat finish. You can use it when inserting your needlework into a frame like we have show here, or to mount onto a board, tray, or other flat surface.

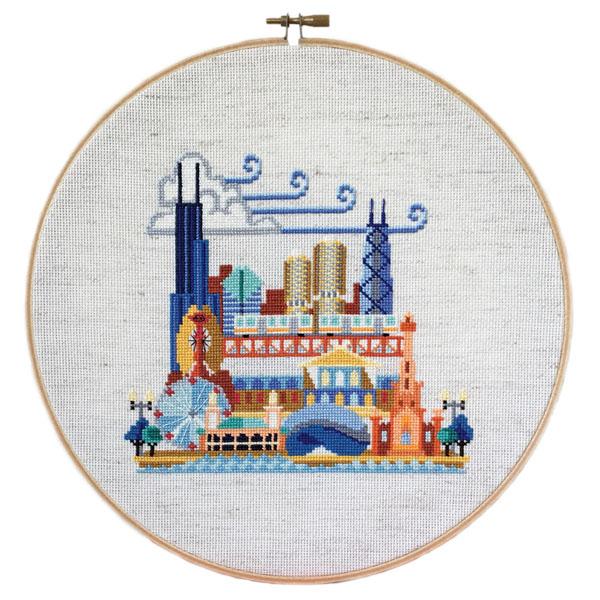
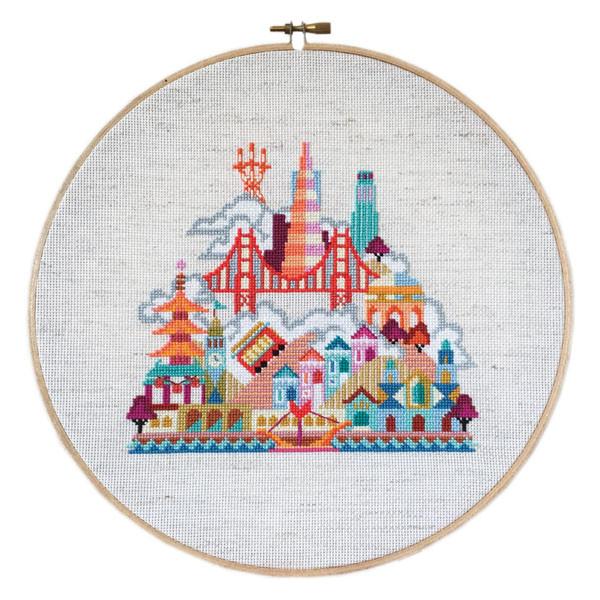
(Love the gnomes and toadstools? Find the pattern here. Or check out our full selection of modern cross stitch kits and patterns.)