There are certain stitching accessories you can never have too many of. Embroidery scissors are one. Pincushions are another.
I love pincushions because they are functional and beautiful. I have a whole shelf of them in my studio, and I'm always adding more. So I was excited to come across this fun and easy no-sew pincushion maker from Clover.
This clever little device has a plastic base and locking ring system. All you have to do is stuff with fiber fill (or your other favorite pincushion filler), top with fabric, and away you go!

The design possibilities for the pincushion are endless. I used a bright Aida that I stitched with a simple repeating pattern, but you can also make a pincushion using your favorite quilting or sewing fabric. You only need a scrap, so it's a great way to use up and display those precious bits of special fabric you can't bear to part with. Here's how to make one.

Materials
- Clover Create-a-Pincushion maker
- Aida or linen fabric (we used 14-count Aida in gold)
- Embroidery floss (we used DMC white)
- Tapestry needle
- Wool or polyester fiber fill
- (Optional) Ribbon
- (Optional) Craft glue
- Scissors
Prepare the fabric
I stitched the Aida fabric using a simple repeating polka dot pattern. You can use the chart below, or design your own pattern. If you are designing your own, the finished stitching area should be about 3-1/4 to 3-/12 inches square (or round). On 14-count fabric, that translates to about 48 stitches by 48 stitches.

If you are using another type of fabric that you are not stitching, cut the fabric to approximately 6 inches square.
Stuff the pincushion
Take the inner container of the pincushion and stuff it with polyester or wool fiber fill. Don't skimp on the stuffing. You want to create a full, rounded dome on the pincushion, so make sure it is firmly packed with a good amount sticking out the top.

Cover and secure the pincushion
Place the fabric over the top of the stuffing, centering your stitched design. When you have it positioned where you want it, fit the silicone ring over the fabric and down onto the pincushion base to secure it.
Aida is relatively thick, so you might need to stretch the ring slightly to get it to fit. Pull the edges of your fabric to smooth out any wrinkles. If the pattern isn't exactly centered, you can pull the ring off and try again. Take your time with this step to get it just the way you want.

Trim excess fabric
Once you are happy with the fabric placement, trim the excess fabric to within about 1/2 - 3/4 inch from the ring. The fabric should not extend below the bottom of the pincushion base.

Finish the pincushion
Place the cover over the pincushion base and press down to fit it into place. If you are using a thicker fabric like Aida, the cover will be quite snug. It can help to press firmly around the diameter of the silicone ring to compress the ring and fabric before putting the cover on.
Push down around the top edge of the cover to work it into place. The ring should fit over the base so that the bottom edges are flush.

You can embellish the base of the pincushion with a bit of ribbon. Use a strong craft glue to hold it in place. And then, of course, you will want to accessorize your new pincushion with some adorable handmade pins.
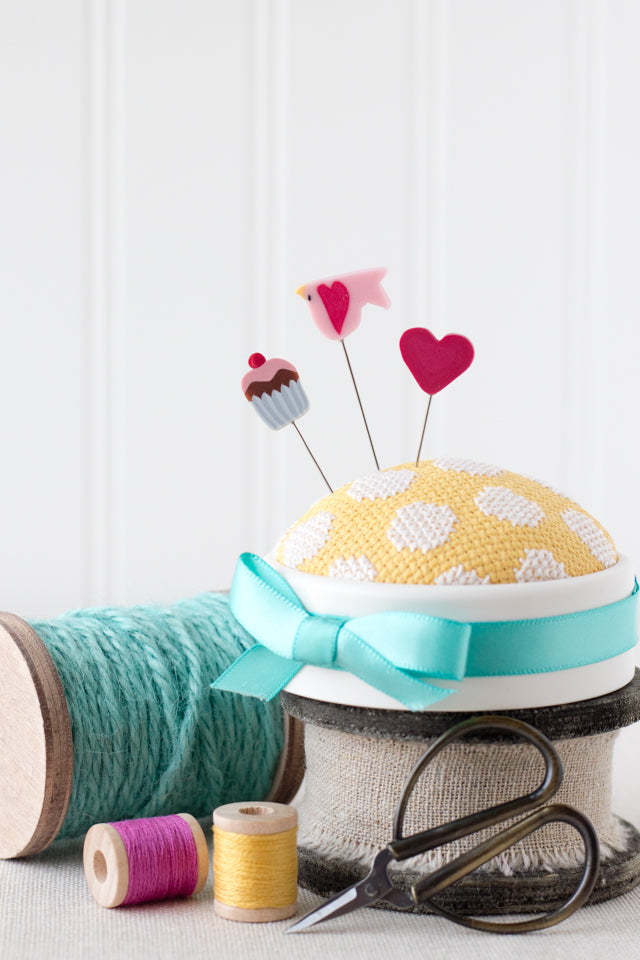
These no-sew pincushions are so easy and adorable, I think I could make a whole collection! When you make one, be sure to tag us on Instagram at @stitchedmodern. We would love to see what you create!