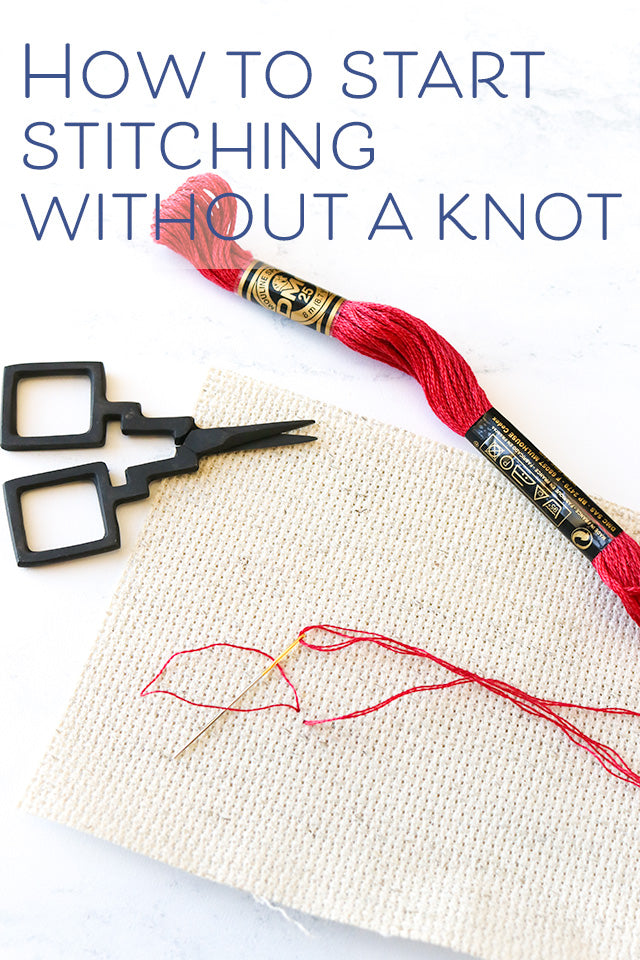
There are a number of ways to start your thread when doing cross stitch or hand embroidery, but my all-time favorite is the knotless loop start method. Not only is it quick and easy, but it helps keep the back of your work neat and tidy.
While it is my go-to method, there is one caveat. The loop method can only be used when you are stitching with an even number of strands, that is 2, 4, or 6 strands.
Cross stitch is often done with two strands -- for example, when you are stitching on 14-count Aida or over two on 28-count linen -- so the loop start method works in a lot of cases. It can also be used when doing hand embroidery with a full 6 strands of floss.
Here's how to do the method when you're stitching with two strands. Once you understand how it works, you will be able to apply the method to additional strands.
How to do the knotless loop start method:
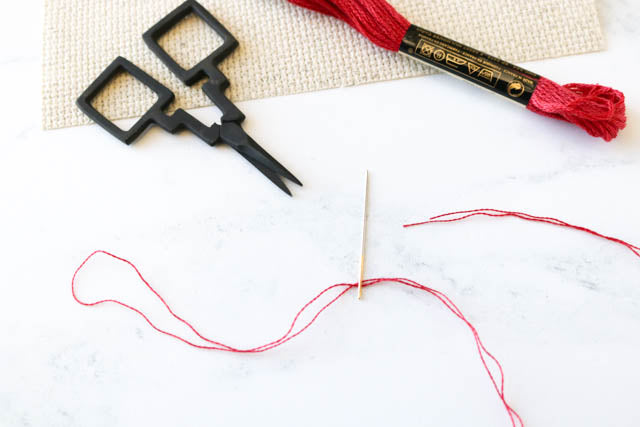
1. Cut a length of floss twice the length you want to stitch with. For example, if you normally stitch with an 18-inch length, cut your floss to 36 inches.
2. Separate out 1 strand of floss and fold it in half so the ends meet.
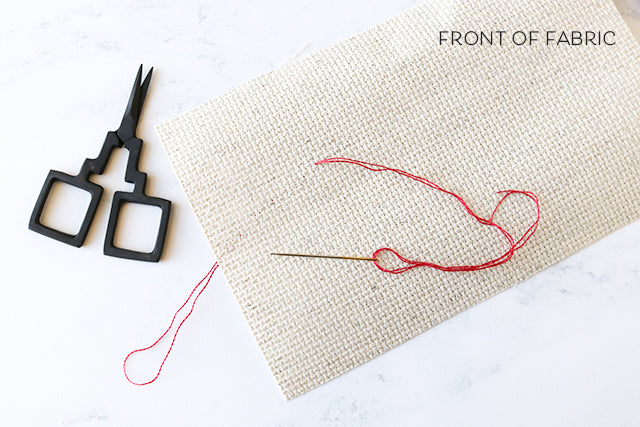
3. Thread both ends through the eye of your needle. The other end of the thread will form a loop.
4. Bring your needle up from the back of your fabric to the front at the point you want to start stitching, leaving 2 or 3 inches of loop at the back.
5. Make your first stitch (in the case of cross stitch, this will be a half cross stitch). When your needle is at the back of the fabric, pass it through the loop of thread.
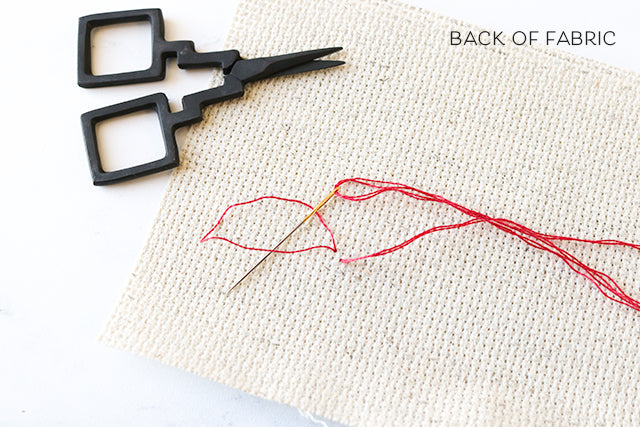
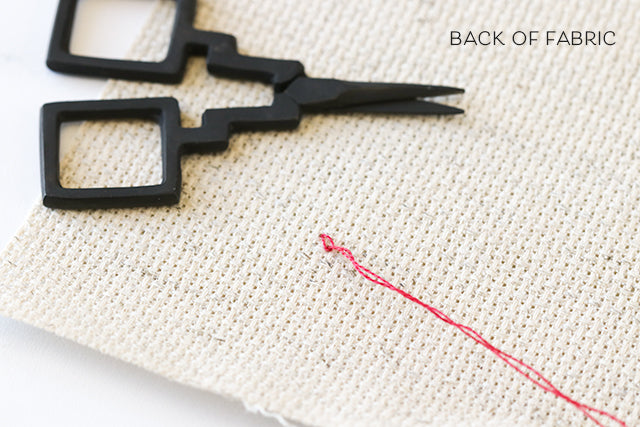
6. Pull gently to tighten. The loop will lie flat against the back of the fabric and your thread will be secure so you can continue stitching.
If you are stitching with 4 strands, do the same thing by folding 2 double-length strands in half to form the loop. For 6 strands, start with 3 double-length strands.
For more stitching tips and tricks, tutorials, and projects, be sure to sign up for our email newsletter!