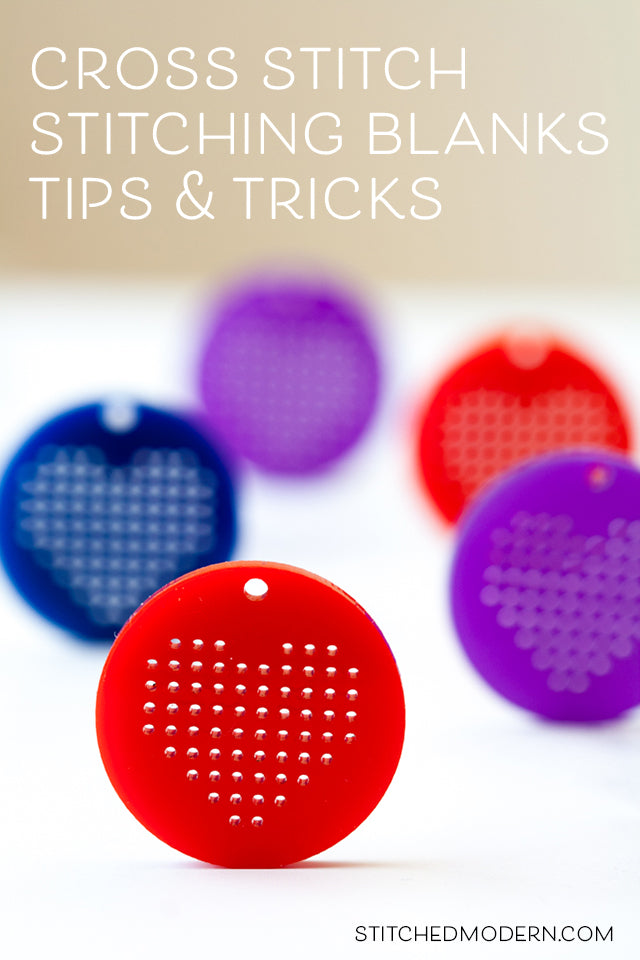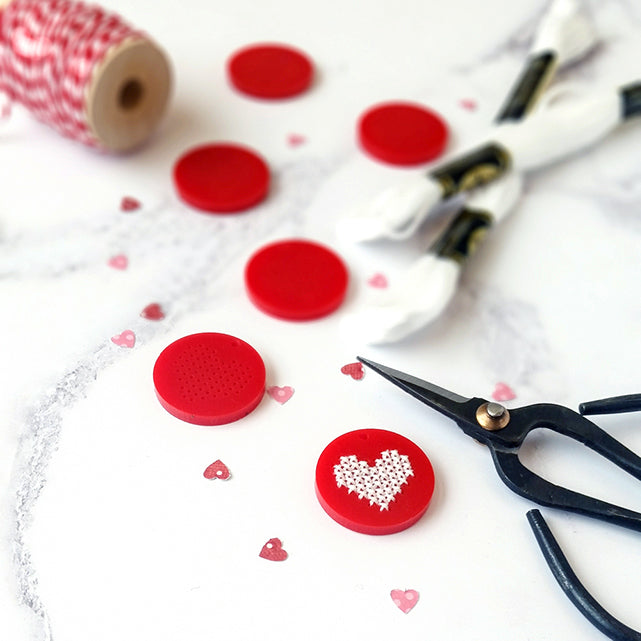
Think fabric is the only surface you can cross stitch on? Think again! Laser cut shapes made from wood, acrylic, and other materials come with pre-cut holes that are designed just for stitching.
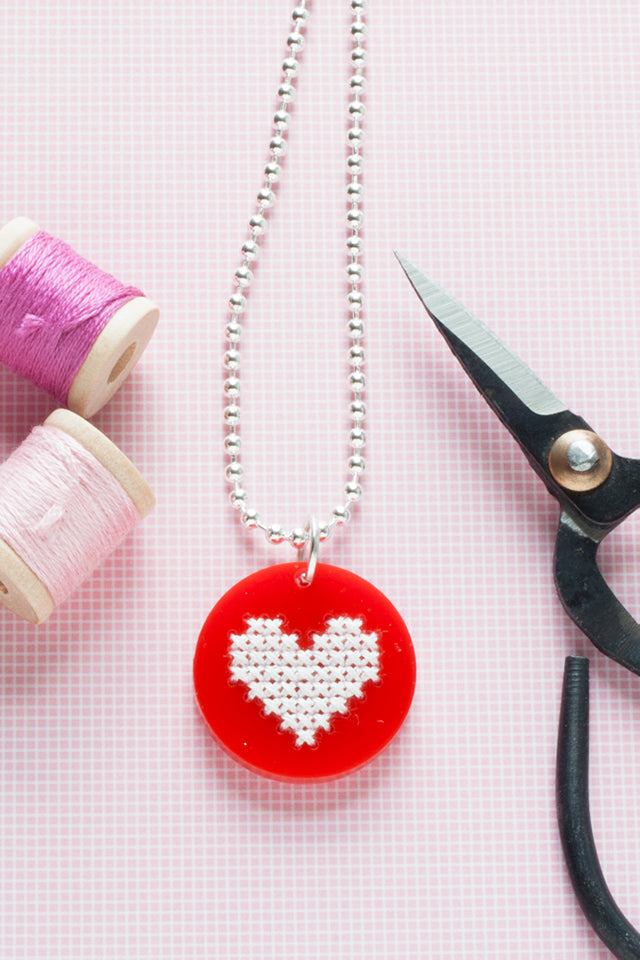
Case in point, our new heart stitching blanks which are available in both bamboo and colorful acrylic. They are quick to stitch and make perfect gifts. Turn one into a pretty necklace, use one as a fob for your favorite pair of scissors, clip to a bag, or use as a sweet handmade touch on a gift.
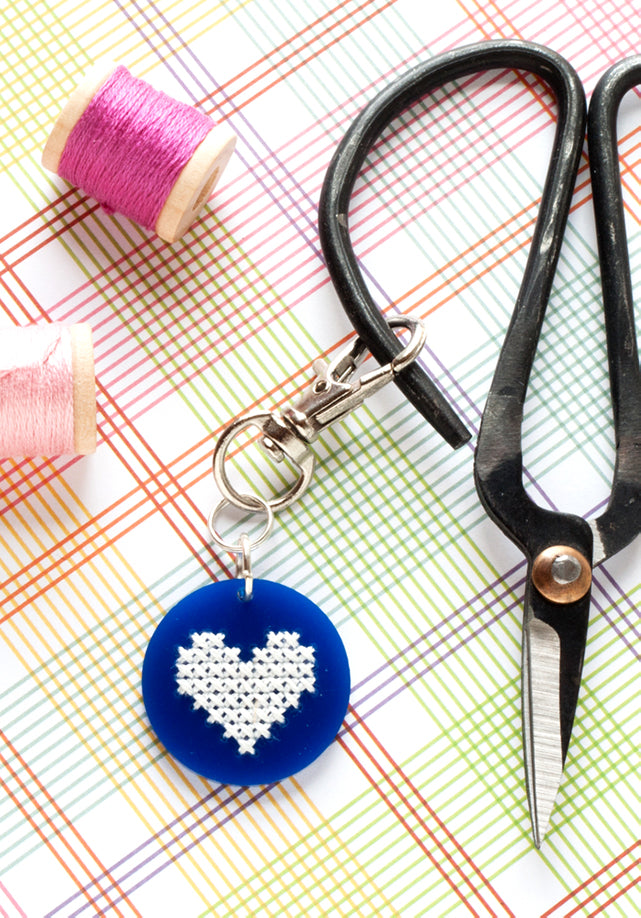
However you decide to use them, the blanks come in multipacks, so you can make a bunch. Perfect for your next craft night party!
Stitching on cross stitch blanks is essentially the same as stitching on fabric, but here are some tips and tricks to make it easier.
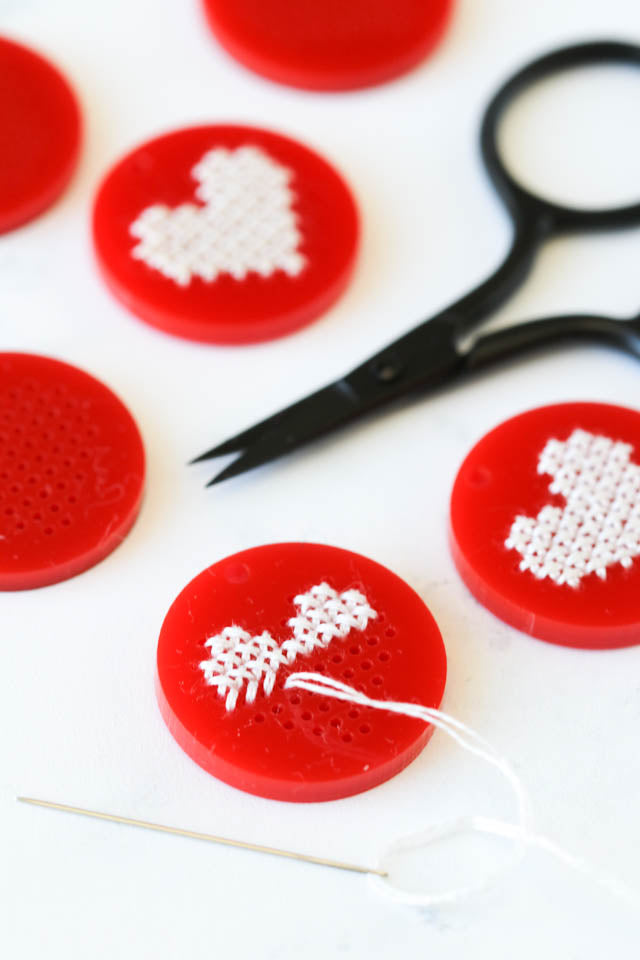
Materials
- Bamboo or acrylic stitching blank
- Size 28 needle
- Cotton embroidery floss
- Scissors
- Scrapbook paper (optional)
- White craft glue or Mod Podge (optional)
- Jewelry findings: Jump rings, necklace chain, keyring, etc. (optional)
How to cross stitch on wood and acrylic blanks
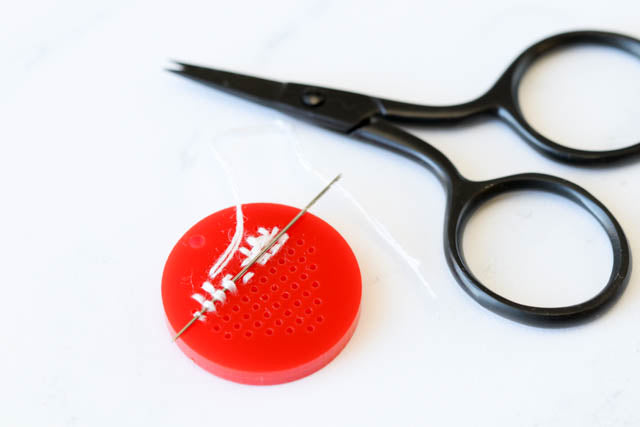
First cut a length of embroidery floss about 36 inches long, and separate out one of the six strands. Fold the strand in half, and thread both ends through your needle. The other end of the thread will form a loop. You will use this loop to help secure your thread when you start stitching.
As you complete your first half cross stitch, pass your needle through the loop at the end of thread and pull gently to tighten.
Related: How to use the knotless loop start method for cross stitch
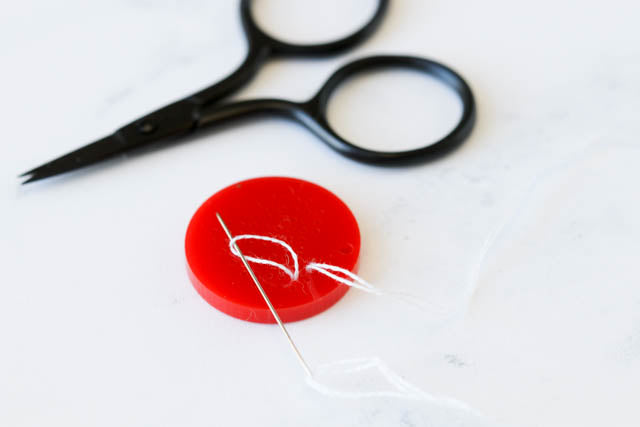
Continue stitching following the chart included with your stitching blank until you finish the design or you need to change your thread. To end your thread, pass your needle under three or four stitches on the back of the blank and then cut.
How to finish the back
You don't necessarily have to do anything to finish the back of the stitched piece, but if you would like to cover up the back of the stitches, here is how to use scrapbook paper to do it.
Place the pendant on a coordinating piece of scrapbook paper and trace around the outside. Using small, sharp scissors (but not your embroidery scissors!), cut just inside the line so the circle is slightly smaller than the pendant.
Apply a thin layer of white craft glue or Mod Pdge to the back of the pendant. Use a small paintbrush to help get an even coat, and avoid using too much glue or it will seep through the holes to the front.
Adhere the paper circle to the back of the pendant, and then apply another thin layer of glue over the top of the paper to seal it. Let dry thoroughly.
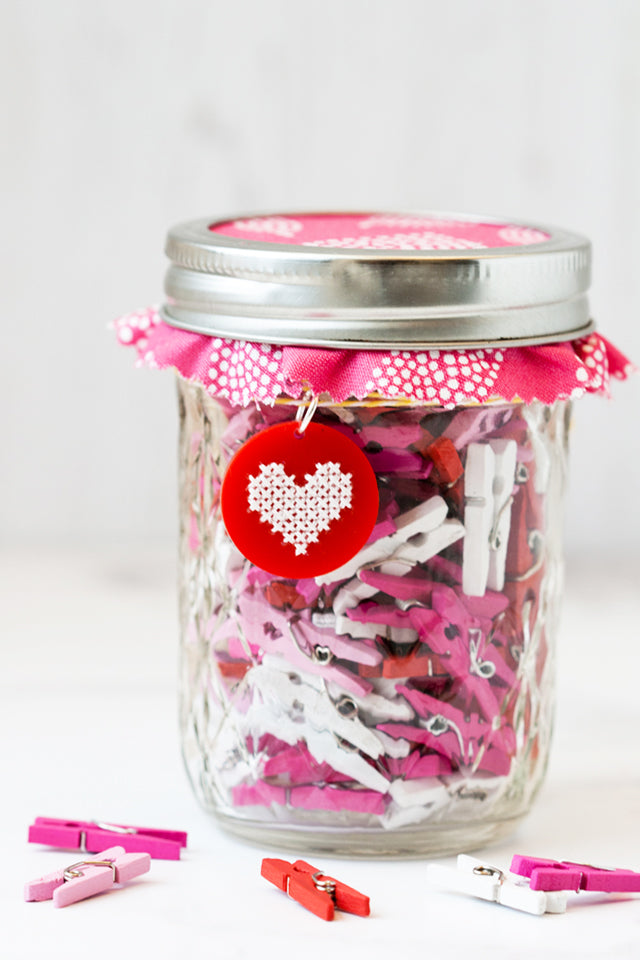
Once dry, you can attach a jump ring to hang the pendant on a necklace chain, clip, or keyring.
Tips and tricks for working with stitching blanks
Here are some additional tips and tricks.
- When stitching on bamboo or other wood, one side of the piece may have slight burn marks or discoloration from the laser cutting. For best results, make this side the back.
- Laser cutting can leave an ashy residue, particularly with organic materials like wood. The soot can rub off on thread as it passes through the holes. If you are stitching with a light color thread, use shorter lengths and change your thread if you notice it getting dirty.
- Make sure you know how many strands of floss to use. Stitched Modern heart blanks are best stitched with two strands of floss, but others may differ. Using too few strands will not give you enough coverage. With too many, you run the risk of your needle getting stuck.
- Use the right size needle. For our stitching blanks, a size 28 tapestry needle works best. Needles that are too large will not fit easily through the holes.
- If your needle gets stuck going through a hole, or as you are passing it under the backs of your stitches to end the thread, use a set of needle-nose pliers to gently pull it loose.
- If you are having trouble seeing the holes, try placing a white towel or piece of paper on your lap. The white background will help the holes be more visible.
For more stitching tips and tricks, tutorials, and projects, be sure to sign up for our email newsletter!
