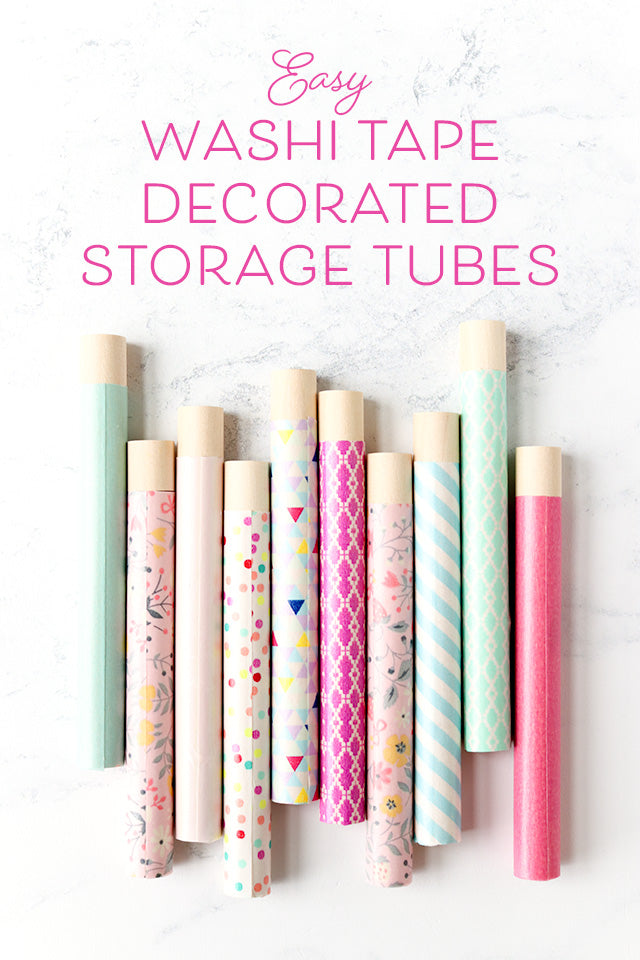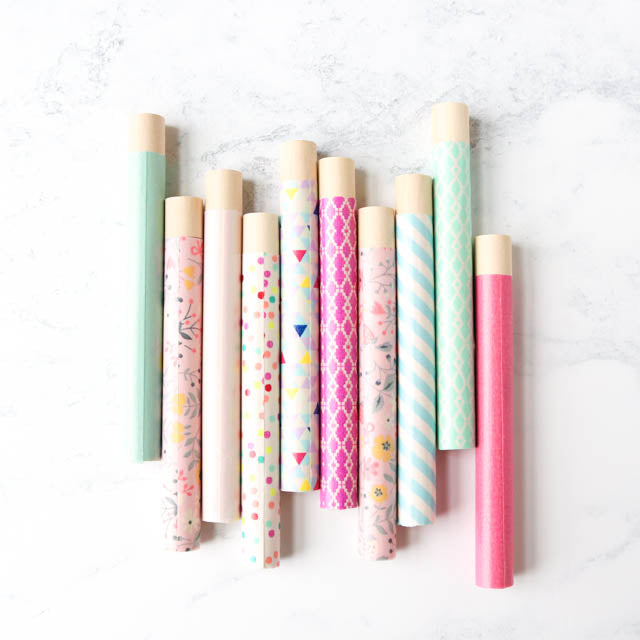
I like my needlework accessories to be not only functional, but also pretty. These DIY needle tubes check both boxes, and they take just seconds to make.
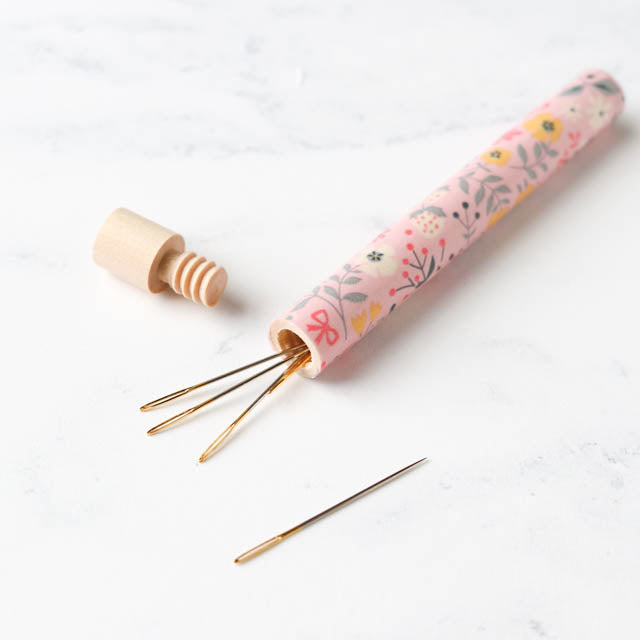
Start with our unfinished wood needle tubes. The tubes are long enough to hold most tapestry and embroidery needles (and even some sashiko needles!). Best of all they have a screw-on cap, so there's no risk of them coming loose and spilling needles in your bag.
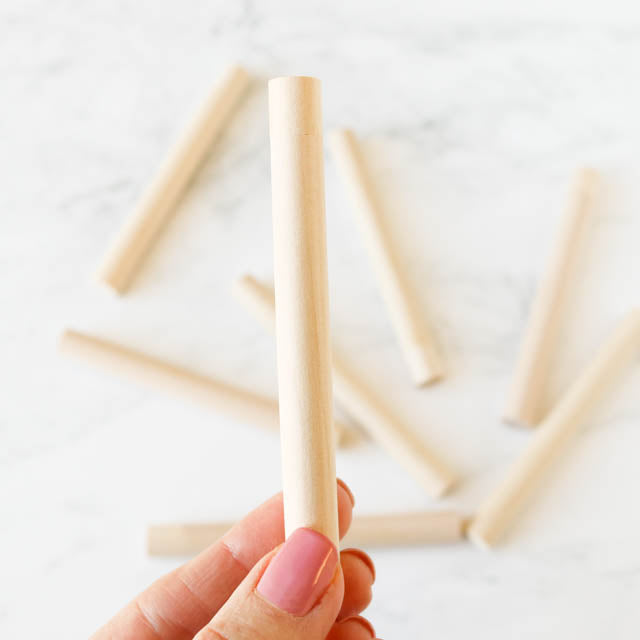
Next grab a collection of your favorite washi tape. I absolutely love washi tape. It comes in beautiful colors and patterns, and it's removable which makes it super versatile and easy to work with.
To decorate your needle tubes, simply apply strips of washi tape and rub to adhere. Cut off any extra that extends past the ends of the tube using sharp scissors. Because the tape is removable, you can reposition it if you don't get it just right the first time.
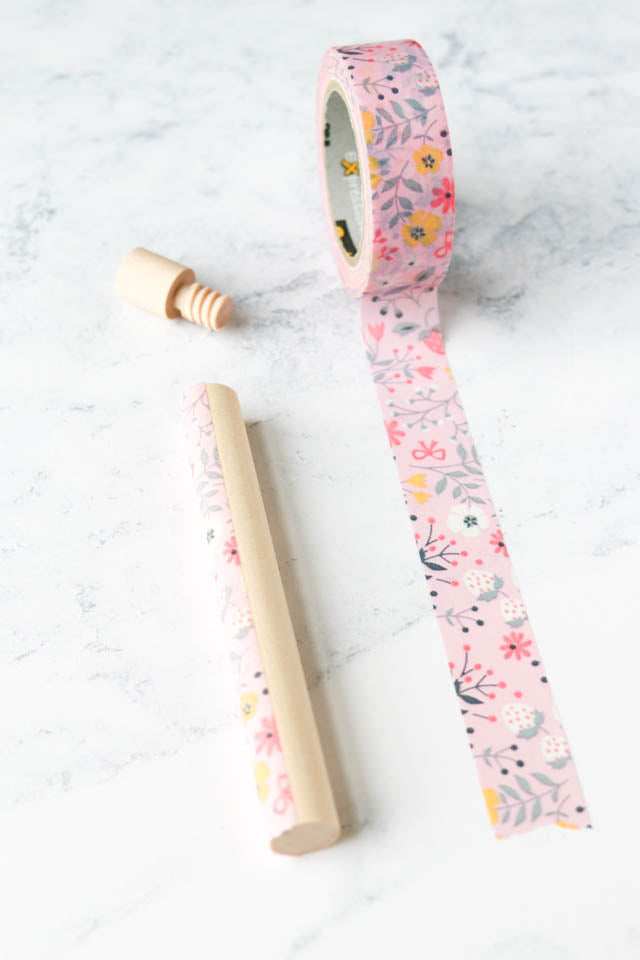
Depending on the width of your tape, you will need 2 to 3 strips to cover the tube. You may need to trim the last strip to fit. We found geometric patterns and small repeating designs work best for matching up the edges, but there is really no need to get it perfect.
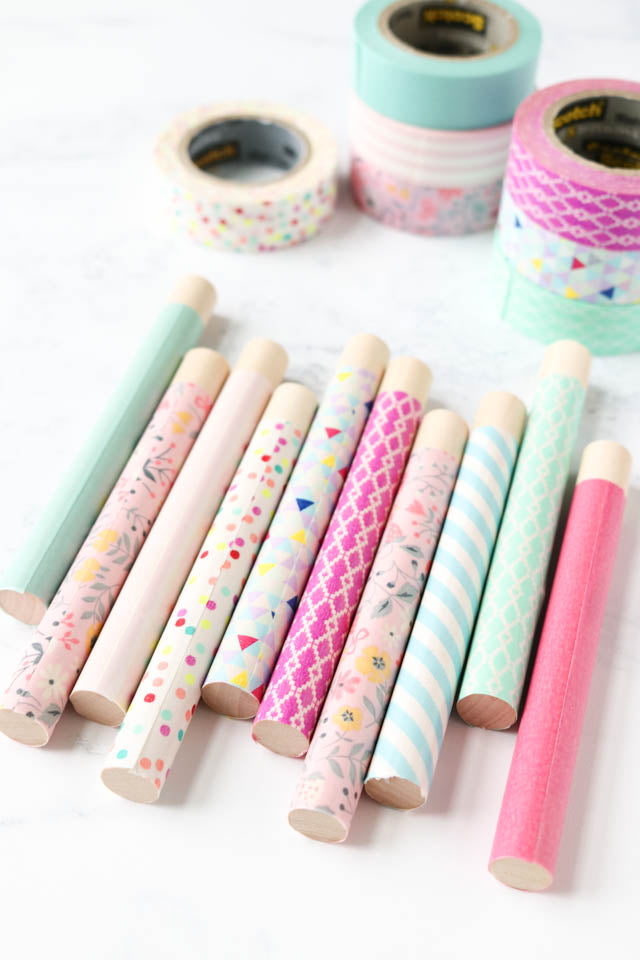
We left the caps of the tubes unfinished, but you could certainly cover them with tape as well, either the same tape as the body of the tube or a contrasting one. You could also paint the caps or the tubes to match the tape you are using. Paint pens work well and give you a lot of control.
The tape may eventually begin to peel with use, but the beautiful thing is you can just pull it off and apply more! Change the design to compliment your current project, or with the seasons, or with your mood!
For more stitching tips and tricks, tutorials, and projects, be sure to sign up for our email newsletter!
