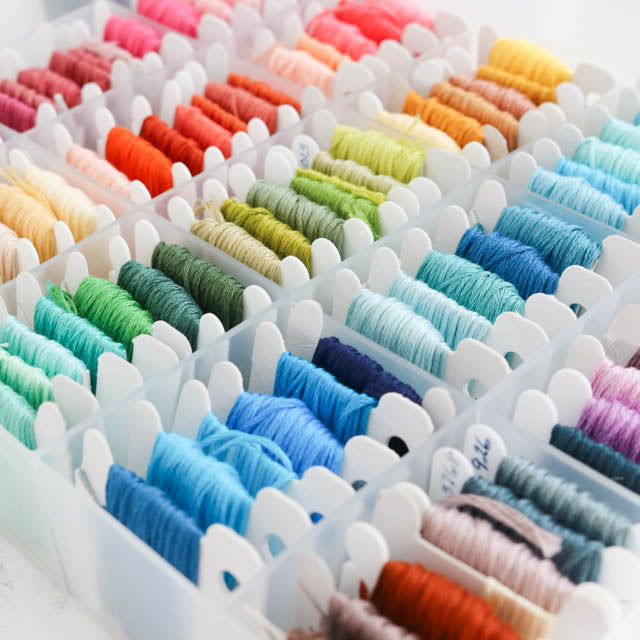
Many stitchers like to collect their orts - their little bits of leftover embroidery floss - as a measure of their stitching progress or as a reminder of beloved stitches past. (Read more about what orts are and how to use them in this post.)
This ort jar with a stitched band is a pretty way to save your thread bits and pieces. It also makes a useful holder for your scissors so you can keep your stitching tools close at hand.

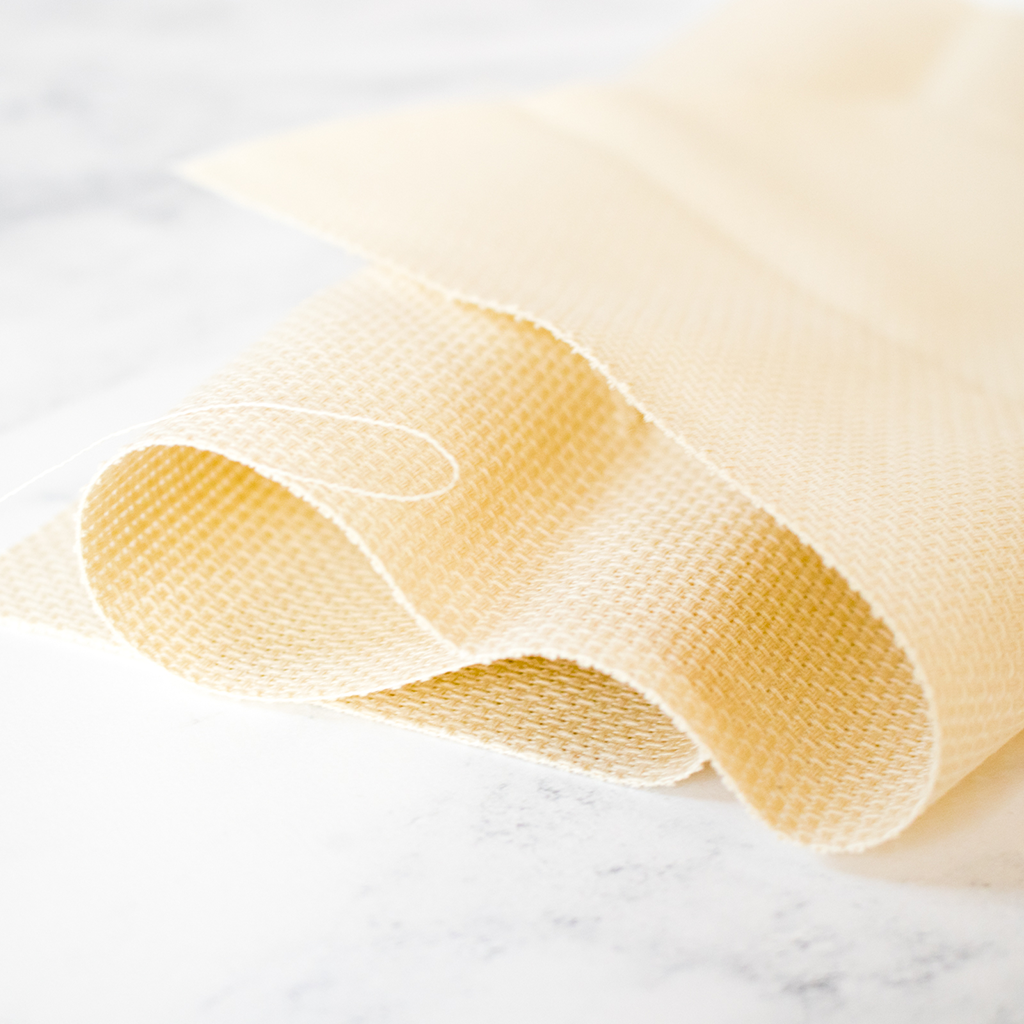
The band around the jar is made from Aida stitching band, which has pretty pre-finished scalloped edges. Using stitching band makes this a particularly easy no-sew project.
The quote stitched on the band reads "All my scattering moments are taken up with my needle." Ellen Birdseye Wheaton, an abolitionist, women's rights advocate, and mother of 12 living in upstate New York wrote this line in her diary in 1851.
I love the quote. It makes me think of the little moments throughout my day that I fill with stitching. The snatched bits of time between work, kid activities, and the business of everyday life. Moments that are soothed and eased by the workings of my needle.
Here's how to make your own ort jar.

Materials
- 12 inches of 2-inch wide scallop edged Aida stitching band in natural (Also available in white)
- One skein of embroidery floss in your choice of color (we used DMC 930)
- Size 24 tapestry needle
- Super grip embroidery hoop
- Mason jar or other glass jar
- Felt in a contrasting or complimentary color
- 1" wide elastic banding
- Fusible interfacing
- Fabric glue
- Scissors, iron, and a ruler or tape measure
Stitch the design
Find the center of the Aida stitching band by folding it in half both horizontally and vertically. Mark the center point with a pin or small stitch. Starting from the center, and referring to the chart below, stitch the design using two strands of floss. When starting, take extra care to make sure the design is centered top-to-bottom between the edges of the stitching band.
(click chart to enlarge)
I usually stitch without a hoop, but I found using one in this case stabilizes the Aida band and makes working the borders along the edges of the band easier.

When you are done stitching, wash and iron your piece.
Prepare the stitching band
Measure the circumference of your mason jar. I used a pint-sized jar with a circumference of 10-1/4 inches. Trim the band to a length that is 1/4 inch longer than the circumference. Take care to make sure the stitched design is centered along the length of the band.
Fold in the short ends of the band to create 1/2 inch hems and press with a warm iron. Trim the ends at a slight angle for a tidier finish.

Prepare the felt backing
Cut a piece of felt and fusible interfacing that are each 2 to 2-1/2 inches wide and 1 inch longer than the circumference of your jar. You don't need to be too precise in measuring at this point because you will trim the pieces later. Apply the fusible interfacing to the felt following the manufacturer's instruction.
Once fused, trim the felt to 1-3/4 inches wide and 1-1/4 inch shorter than the circumference of the jar. In our case we trimmed the felt to 1-3/4 inches by 9-1/4 inches.
Fuse the band and backing
Lay the Aida band face down on your ironing surface. Place the elastic over the end of the band so that it covers the hem. Place the felt, fusible side down, on top of the Aida band and elastic. Press with an iron along the length of the band to adhere the pieces, following the manufacturer's instructions.

Stop pressing when you get about 2 inches away from the other end. Roll the band to form a circle, and insert the free end of the elastic between the Aida band and the felt. Press to fuse.

Once the piece is fused, add a drop of fabric glue between the elastic and the Aida band to further secure the end. Let the glue dry thoroughly.

Put the band on the jar
Slip the finished band over the top of the mason jar. The band should fit snugly, but not pull too tightly on the elastic. Your embroidery scissors will fit securely under the elastic band.

I leave the top of the jar open so it's easy to toss in my orts. You can even attach a magnetic needle minder to the metal rim of the jar to hold your needle when you're not using it.

Make your own ort jar, and take pleasure watching it slowly fill over the course of the year, as your scattering moments are taken up with your needle.
Happy stitching!

